
What Is a Box Build Assembly
- Key Takeaways
- Where PCB Assembly Fits Inside a Box Build
- What Is Included in a Box Build Assembly?
- Simple vs. Complex Box Builds
- Where Are Box Build Assemblies Used?
- A Step-by-Step Rundown of the Box Build Assembly Process
- How Are Box Builds Tested?
- Sheet Metal or Plastic Enclosure for Box Builds?
- What Determines the Cost and Lead Time for a Box Build?
- What to Send for a Box Build Quote
- In-House or Outsourced?
- FAQ
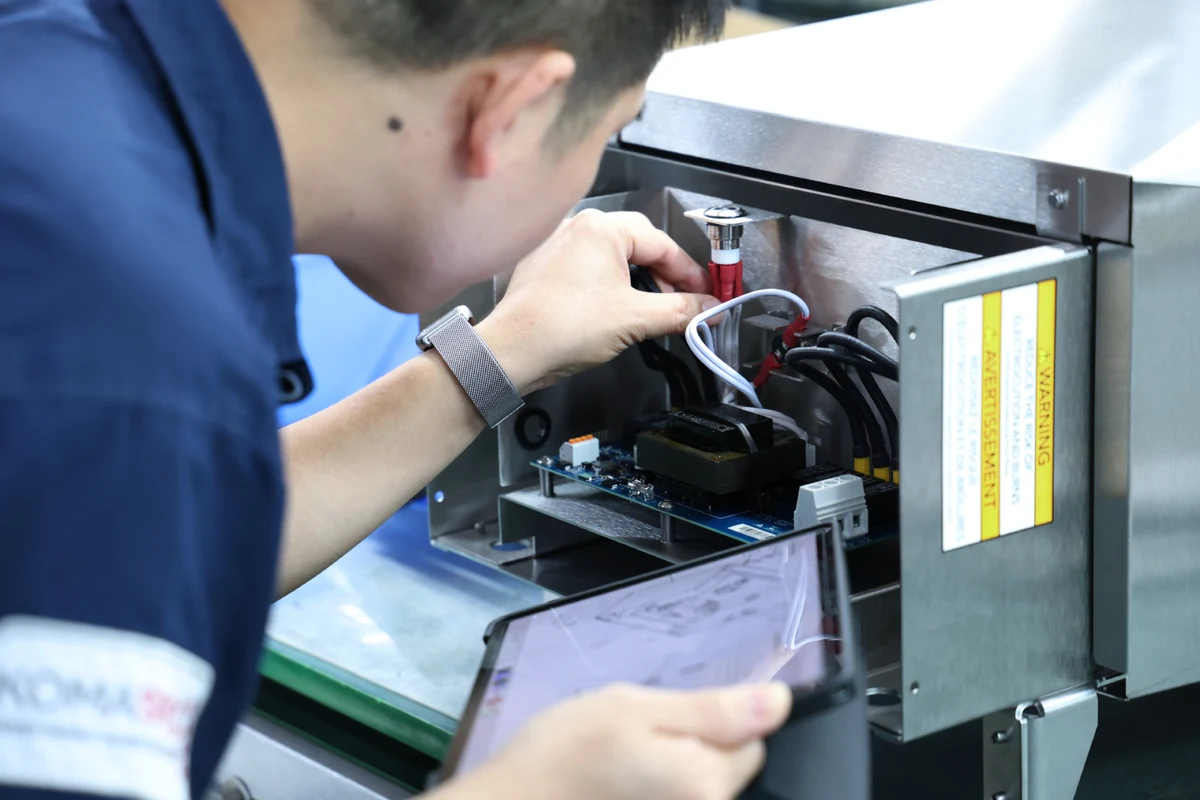
Box build assembly, also known as system integration, is the manufacturing of a complete electronic product: the PCBAs, cable harnesses, power components and user interface are installed in an enclosure, loaded with firmware, tested and packaged by a single manufacturer. Instead of sourcing components that you then need to assemble, wire, and test, you receive a finished unit that is ready to use or ship.
A box build can range in size and complexity, from molded housings with single-board sensors to wired control cabinets. What makes it a box build isn't the specifics of the product, but that a single manufacturer is responsible for ensuring that all the components fit together and work as intended.
Key Takeaways
A box build is an electronic product that has been built, tested, and packaged by a single manufacturer.
PCB assembly is only one step in the box build process, which also includes enclosures, harnesses, and testing.
For builds with injection-molded enclosures, the timeline is largely based on the tooling and the purchased component with the longest lead time.
The most thorough manufacturers will test box builds in multiple layers, from the boards and harnesses all the way to the finished unit.
The best way to get an accurate box build quote is to supply a complete RFQ package, including BOM, STEP model, drawings, and testing requirements.
Table of Contents
- Key Takeaways
- Where PCB Assembly Fits Inside a Box Build
- What Is Included in a Box Build Assembly?
- Simple vs. Complex Box Builds
- Where Are Box Build Assemblies Used?
- A Step-by-Step Rundown of the Box Build Assembly Process
- How Are Box Builds Tested?
- Sheet Metal or Plastic Enclosure for Box Builds?
- What Determines the Cost and Lead Time for a Box Build?
- What to Send for a Box Build Quote
- In-House or Outsourced?
- Frequently Asked Questions
- What is a box build assembly?
- What is the difference between box build and PCB assembly?
- What is the box build process?
- How long does a box build take?
- What standards apply to box build assembly?
Where PCB Assembly Fits Inside a Box Build
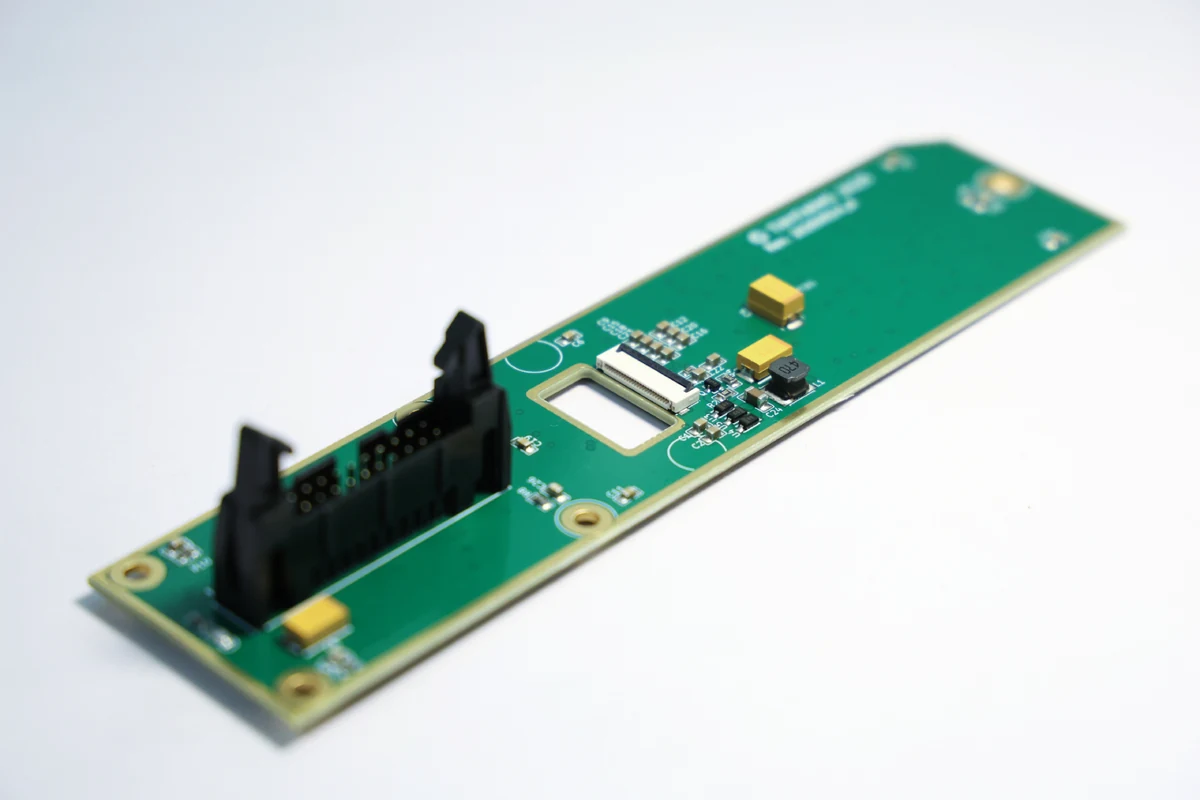
Since it's an electronic product, every box build will include at least one PCB. But the box build supplier doesn't just assemble and test the board. They also carry it over through every other step of the manufacturing process: wiring, enclosure, firmware, all the way to packaging.
| Level | What This Level Adds | What You Receive | Test Level | Typical Workmanship Standard |
|---|---|---|---|---|
| 1. PCB assembly (PCBA) | Components placed and soldered on the bare board | A populated, tested circuit board | Board level (AOI, ICT, board functional test) | IPC-A-610 |
| 2. Electromechanical sub-assembly | PCBAs combined with harnesses, motors, switches, or brackets | A working module (e.g. a control board with harness and mounting plate) | Sub-assembly function | IPC-A-610 and IPC/WHMA-A-620 |
| 3. Box build | Enclosure, all sub-assemblies, firmware, labeling, and packaging | A finished, enclosed, ready-to-ship product | Full product function, plus safety and ingress checks (where required) | IPC-A-610, IPC/WHMA-A-620, plus product safety standards |
For a more detailed breakdown of these manufacturing models, check out our guides to turnkey PCB assembly and electromechanical assembly.
What Is Included in a Box Build Assembly?
There are seven main elements to a box build, and each comes with a list of specifications. Leaving any of these specs blank can result in inaccurate quotes or problems that only show up in the first article.
| Building Block | Examples | What to Specify |
|---|---|---|
| Enclosure | Sheet metal chassis, injection-molded housing, off-the-shelf box | Material, finish, IP or NEMA target, cosmetic grade |
| PCBAs | Main controller, power board, display board | Gerbers/ODB++, BOM, assembly drawing, test requirements |
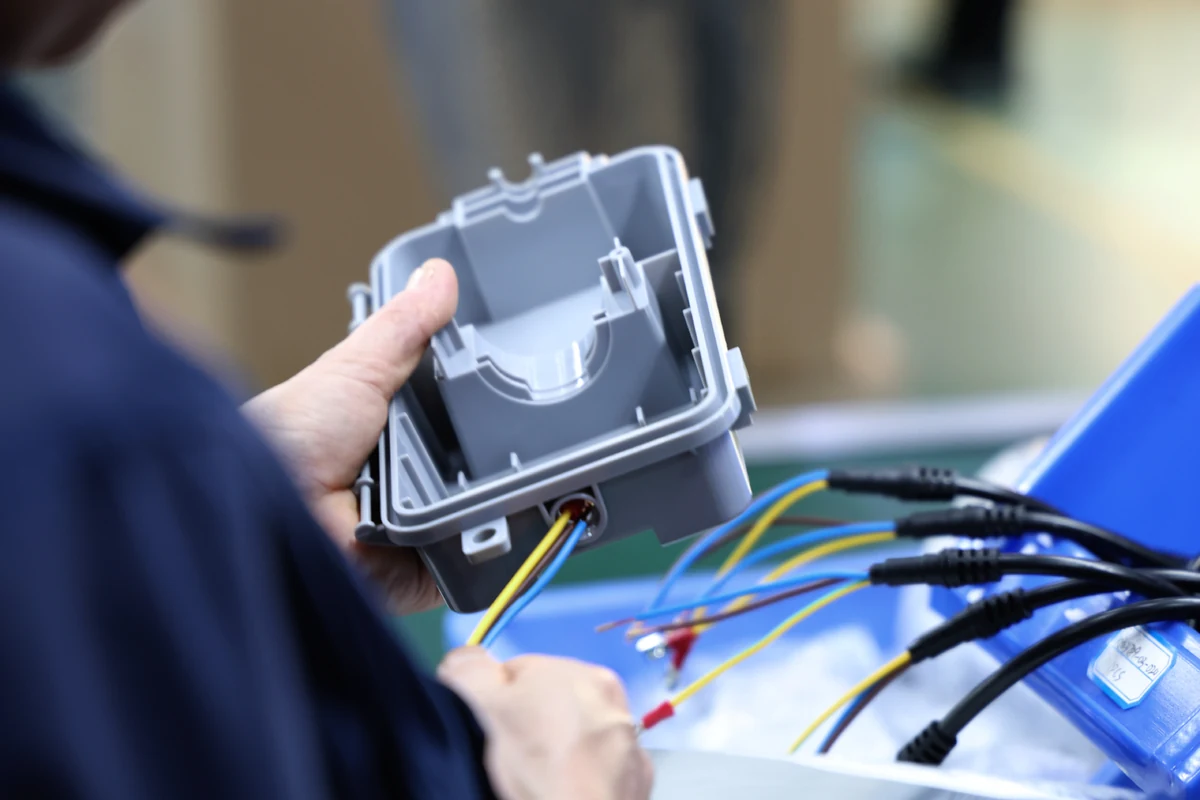
| Cable assemblies and harnesses | Internal harnesses, I/O cables, ground straps | Wire gauge, lengths, connectors, routing, strain relief |
| Electromechanical parts | Fans, motors, relays, switches, sensors, actuators | Part numbers, approved alternates, mounting |
| Mechanical hardware | Standoffs, PEM nuts, hinges, gaskets, cable clamps | Thread size, torque, anti-vibration or tamper-proofing features |
| Power components | PSU, battery pack, fuses, EMI filter | Input range, certifications (e.g. UL/UN for batteries) |
| User interface | Buttons, membrane keypad, LEDs, LCD, USB/Ethernet ports | Panel cutouts, labeling, connector orientation |
Simple vs. Complex Box Builds
Box builds run the gamut in complexity.
Plenty of IoT products are very simple box builds, consisting of nothing more than a PCBA and a few cables housed in an off-the-shelf enclosure. For builds like this, your timeline is mostly determined by the PCBA supply.
Where Are Box Build Assemblies Used?
In any products where electronics are installed inside a housing. This applies to a vast number of industries, including:
Mining devices used for monitoring and telemetry, which need to withstand moisture, dust, and vibration.
Water and air systems, where the control boxes need high attention to sealing, electrical safety, and corrosion resistance.
Server racks and cabinets for data centers, which require EMI shielding, proper airflow, and strict dimensional tolerances.
Industrial controls are often handled by box build assemblers.
Outdoor sensors and controllers for agribusiness that must be capable of handling chemical exposure and extreme temperatures.
Healthcare monitoring and diagnostic equipment, which should be traceable at the unit level.
Point-of-sale systems and customer-facing kiosks that combine sheet metal, plastics, and electronics with attention to cosmetic features.
Automotive modules, such as ECUs and navigation or infotainment units, which are often manufactured as box builds.
General consumer electronics are commonly sourced through box builders.
A Step-by-Step Rundown of the Box Build Assembly Process
Manufacturing and assembling a box build usually involves the following eight stages.
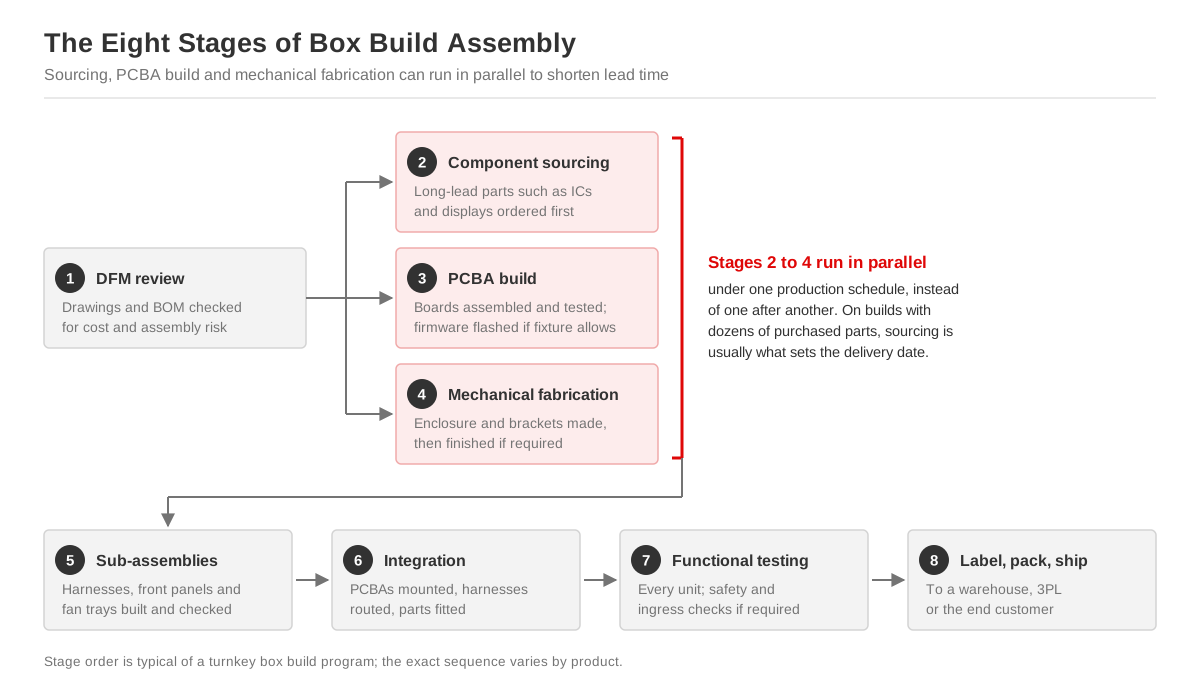
- Design for manufacturability (DFM) review. This is where the engineering team reviews the drawings and BOM you submitted so they can flag potential assembly issues or recommend cost-saving design changes (e.g. swapping in standard fasteners, moving a connector to allow shorter harnesses, split enclosures that could be redrawn into a single part).
- Sourcing components that need to be purchased, starting with any parts that have a long lead time (such as ICs, displays, and specialized connectors). On builds that involve dozens of purchased components, this is usually the step that has the biggest impact on the production timeline.
- Building the PCBAs. The boards are assembled and tested. The firmware can also be flashed at this stage (if the test fixture allows it).
- Mechanical fabrication, where the brackets and enclosure are built using sheet metal fabrication, injection molding, or machining. If applicable, these parts are then finished using powder-coating, anodizing, silkscreening, or other methods.
- Building and checking sub-assemblies, like harnesses, display modules, front panels, and fan trays. Our sub-assembly guide goes over this process and why it cuts down on rework.
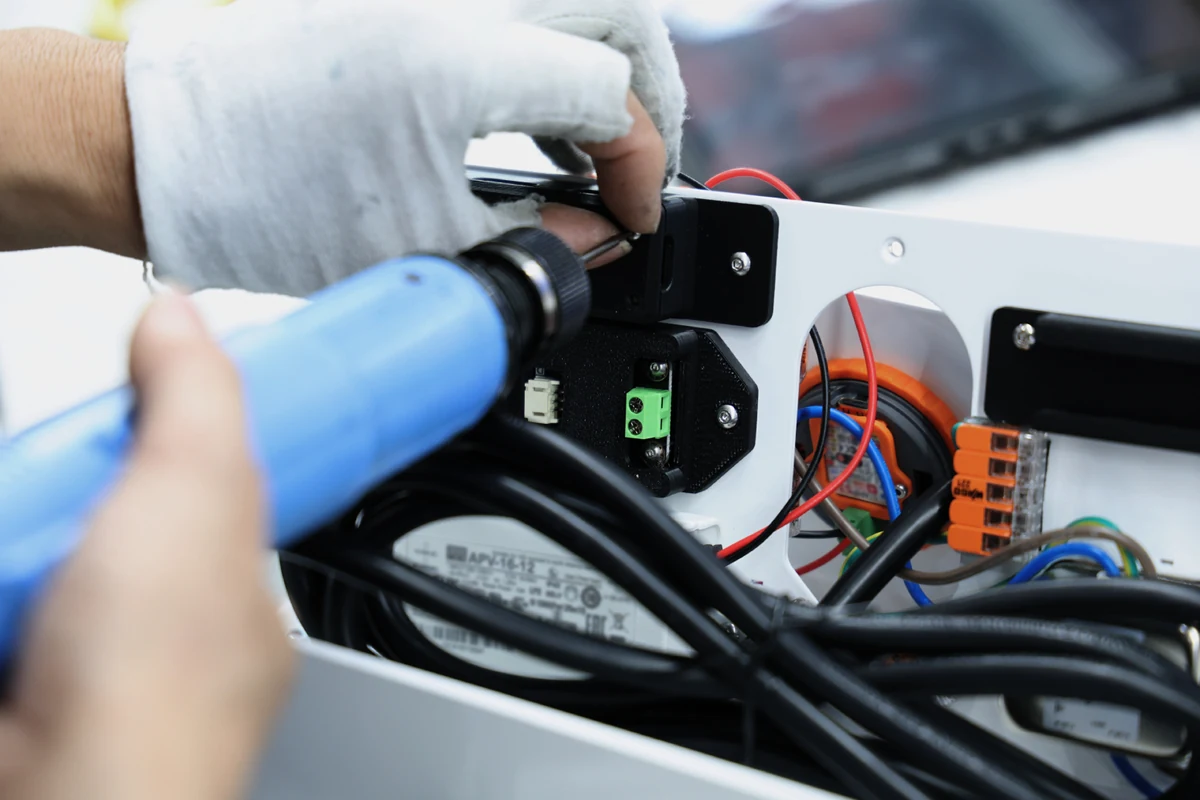
- Integrating components. This is the step where harnesses are routed and connected, PCBAs are mounted, and other components are fitted into the product. If it's needed, this is also the step where gasketing, potting, and ultrasonic welding are done.
- Functional testing on every unit, with ingress checks and electrical safety testing if required.
- Labeling, packaging, and shipping, where the finished product is sent out to a warehouse, 3PL, or the end customer.
Most of these steps have to happen in sequence. But if your supplier runs their program efficiently, the component sourcing, PCBA build, and mechanical fabrication steps can all be completed simultaneously, which gives you a shorter lead time.
How Are Box Builds Tested?
Box builds are usually tested in multiple layers, because failures are easier and cheaper to fix when they're caught in the earlier stages of production.
A thorough program would run tests and inspections at five levels:
Incoming inspections for any purchased parts, along with first-article checks when sourcing from a new supplier.
Board-level testing for all PCBAs, which may include in-circuit testing, AOI, and board functional tests. Boards should be inspected so they meet IPC-A-610 criteria.
Harness testing for correct pin-out and continuity. Follow IPC/WHMA-A-620 (the only industry-consensus standard for cable and wire harness acceptance, according to the Global Electronics Association).
Functional testing on the assembled unit. This usually involves a custom fixture with a scripted test program. The product's safety standard may also mandate hipot or ground-bond testing.
Ingress validation for products that are sealed. IEC 60529 rates ingress protection from 0 to 6 for solids and 0 to 9 for liquids. So the design should name the rating the product needs; "waterproof" on its own doesn't tell the supplier what to test to.
In our case, we run every single unit through in-line functional testing. This includes scan-in/scan-out traceability so each unit is linked to its specific PCBA test and firmware records. But not every supplier does this, so be sure to ask about their testing procedures before committing.
That leaves regulatory testing, which is a separate track. Altium's guide to box builds notes that the enclosure can affect electromagnetic compatibility (EMC) and product safety. Because of this, the complete build (not just the board) should meet FCC/CISPR emissions requirements and all applicable UL or IEC standards. To avoid expensive redesigns, verify the build's compliance on prototype units, when the tooling has not been frozen yet.
If you're not sure which safety mark your product needs for the North American market, check out our comparison of UL, ETL, and CSA certification to help you sort it out.
Sheet Metal or Plastic Enclosure for Box Builds?
| Sheet Metal | Injection-molded Plastic | |
|---|---|---|
| Upfront tooling | Low or none for laser-cut and bent parts | Mold required (unless using an off-the-shelf enclosure) |
| Design changes | Cheap: update the flat pattern | Expensive: mold modification |
| Unit cost at volume | Higher | Lower |
| Strength and EMI shielding | Strong, inherently conductive | Needs ribs for stiffness; shielding requires coating or inserts |
| Sealing | Harder (relies on gaskets and seam design) | Easier (molded gasket grooves, ultrasonic welding) |
| Weather and UV | Corrosion (needs a protective finish) | UV degradation (unless the resin is stabilized) |
For how components are laid out inside the enclosure, see our box build design guide.
What Determines the Cost and Lead Time for a Box Build?
There are five factors that have the biggest impact, and most of them are set during the design stage.
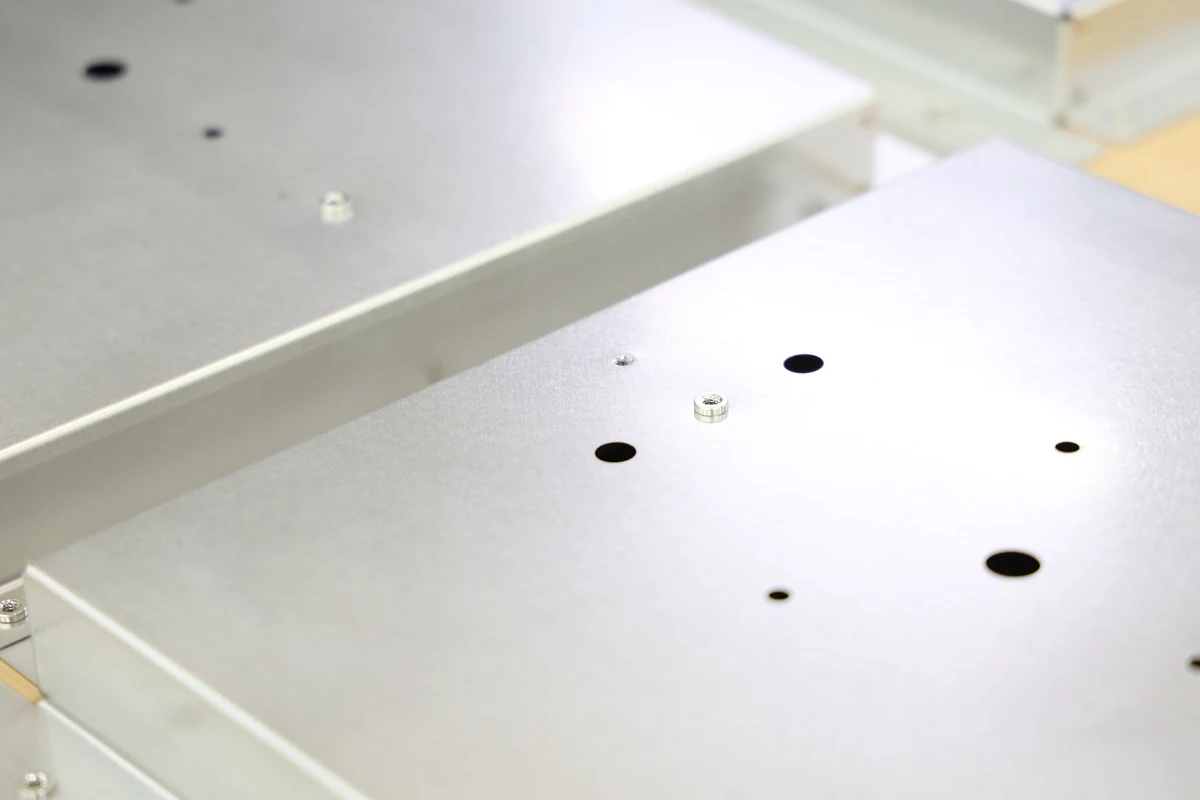
Tooling is a major driver for cost and scheduling for plastic builds. An injection-molded enclosure will need a mold that has to be designed, built, and used on a sample run before production can start. Sheet metal tends to be far more agile, since the sheet can be laser-cut and bent with little or no tooling work.
Purchased components can also have an oversized influence on the production schedule. One display that's hard to source can hold back your entire build.
The number of lines on the BOM can move the needle more than unit price. That's because every line is a separate purchase order, incoming inspection, and a potential shortage.
Developing test fixtures is often overlooked when roughly estimating timelines, but each one will need to be built and debugged before the start of a full production run.
Certification can also add extra time if the design changes after the compliance testing has already been done.
What to Send for a Box Build Quote
For a comprehensive and accurate quote, include all of the following in your RFQ package.
The full BOM, listing all mechanical hardware, gauges for cables and wires, and approved alternates for any items that may be unavailable or difficult to source.
Complete PCB files, including Gerbers or ODB++, pick-and-place, drill files, and the assembly drawing.
3D model (ideally as a STEP file) for the enclosure and the full assembly.
Harness drawings that include lengths, pin-outs, and connectors.
Clear testing requirements for the product, indicating what should be tested, the pass/fail limits, and who will be supplying the testing fixtures.
Production details, including target volume (prototype, pilot, annual), IP ratings, cosmetic standards, and any certifications the product must meet.
Labeling and packaging specs, as well as the shipping destination.
If any of these elements are not yet available, mention this in your RFQ. In many cases, the manufacturer will be able to fill out a rough BOM to get a better idea of cost and timeline. But remember to review and approve that BOM before production starts.
In-House or Outsourced?
If your product has more than a few purchased parts and a custom enclosure, outsourcing makes the most sense. The question is how many suppliers you outsource to. As a Siemens whitepaper on box build notes, the product is often designed in one place, while the PCB is built and assembled by another company, and the box build is put together at a third location. That means three different teams are involved, each with their own data silos and potentially incompatible processes. This can make the process less efficient, which can drive up the cost or delay time to market.
If you need help evaluating box builders, our guide on how to choose a box build assembly manufacturer lists questions to ask any supplier, including us.
Planning a box build? Send us your BOM and drawings for a free DFM review, and we'll come back with manufacturability feedback, sourcing risks and a realistic path to tested, shipped product.
Frequently Asked Questions
What is a box build assembly?
It is an electronic product that is built and assembled by a single manufacturer. One supplier handles the PCBAs, cable harnesses, and interface parts, installs them into an enclosure, tests the product, and then packages it so it can be shipped out. The customer receives a fully working unit instead of components to make or assemble.
What is the difference between box build and PCB assembly?
PCB assembly (PCBA) is one step of a box build. A PCB assembler populates and tests the board, then ships it on for someone else to integrate. A box build supplier takes that board, installs it in an enclosure, and tests the finished product. The box build supplier is responsible for the entire product working as intended.
What is the box build process?
It usually follows eight stages: DFM review, component sourcing, PCBA build, mechanical fabrication, sub-assemblies, integration into the enclosure, functional and safety testing, and labeling and packaging. The most efficient manufacturers run sourcing, PCB assembly, and mechanical fabrication in parallel to deliver a shorter lead time.
How long does a box build take?
For builds with a plastic enclosure, it depends mostly on the time it takes to build and finalize the tooling. On those and other builds, the timeline is largely set by the component with the longest lead time. Because of this, a sheet metal box build that uses laser cutting and in-stock parts will be finished much faster.
What standards apply to box build assembly?
In most cases, the workmanship on electronic assemblies is inspected to IPC-A-610 and to IPC/WHMA-A-620 for cables and harnesses. Sealed products are rated under IEC 60529 (IP code) or NEMA 250. The finished product also needs the EMC and safety approvals for its market, such as FCC, CE, UL or CSA.