
Overmolding: The Process, Materials, and Design Guidelines
- Key Takeaways
- What is Overmolding?
- What is the Overmolding Process?
- Insert Molding vs Two-Shot Molding: Which Process Fits?
- Overmolding Materials: Key Pairings
- Overmolding Design Guidelines
- Applications and Benefits of Overmolding
- How Komaspec Supports Your Overmolding Projects
- FAQs
Overmolding is an injection molding process that molds a second material over an existing substrate, which can be either metal or plastic, to form a single bonded part. The combination of two components during the molding step means they don't need to be glued or fastened together afterward, and is how a rigid tool body has an integrated rubber grip that never peels off.
The benefits of overmolding are multiple, from the ability to combine the properties of two materials at once and have a metal thread encapsulated inside a molded plastic housing, for example, to the elimination of assembly steps and reduced parts count. A more durable component than one provided through adhesives or fasteners is another reason manufacturers utilize overmolding too.
In this article we cover what overmolding is and how the process works, the two related processes of insert molding and two-shot molding, the material pairings that determine whether two materials actually bond, and the design rules that influence how a part will perform at volume.
Key Takeaways
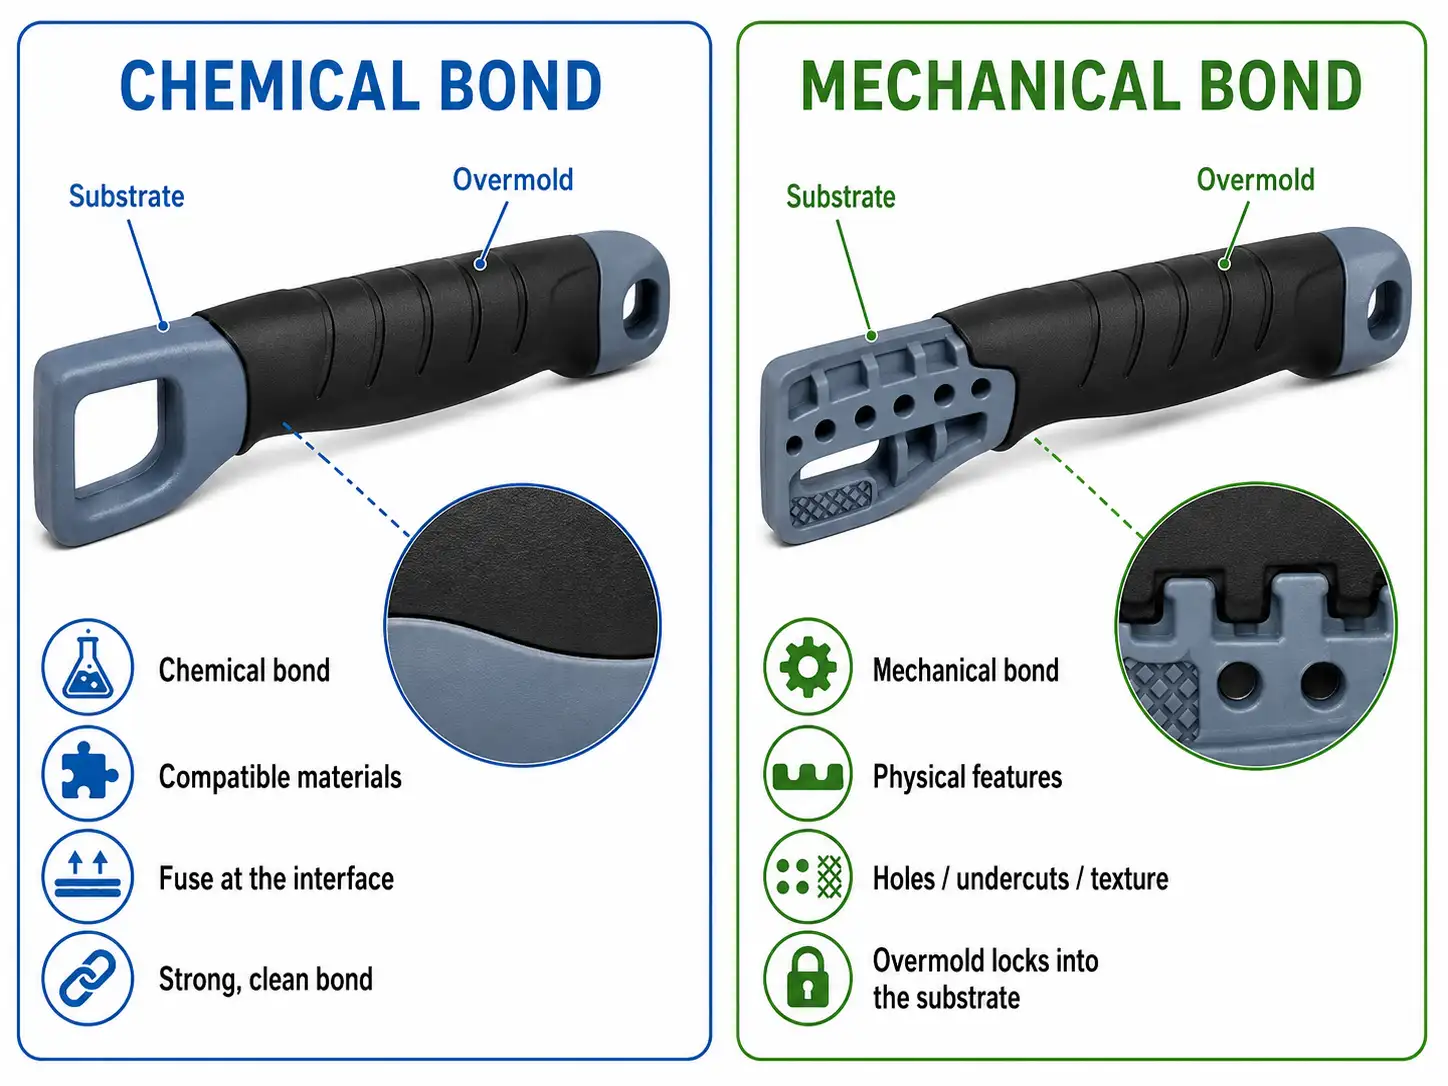
Overmolding bonds two materials into one, single part. A second material is injected over or around an already-molded or pre-placed rigid substrate, to chemically or mechanically bond the two without glue or fasteners.
Insert molding and two-shot molding are the two closely related processes that cover most multi-material parts. Insert molding surrounds a pre-placed insert, which is usually metal, in a single shot. Two-shot molding injects the substrate and overmold in sequence and within one automated machine cycle.
The compatibility of materials decides success. The substrate and overmold resins must be chemically compatible to bond. If they aren't, mechanical interlocks must be added at the design stage to hold them together.
Design decisions drive the bond strength and cost. Factors such as wall thickness, gate location, undercuts, draft and surface preparation all influence the extent to which the overmold adheres, and also whether the part runs cleanly in production.
Overmolding removes assembly steps. Secondary operations are cut, part counts reduced and durability improved by the combining of materials during molding, as opposed to glued or fastened assemblies.
Table of Contents
What is Overmolding?
Overmolding is a multi-material injection molding process in which a second material is molded over a base part to form a single finished part. The base part is called the substrate, and the layer molded over it is called the overmold.
What is the Overmolding Process?
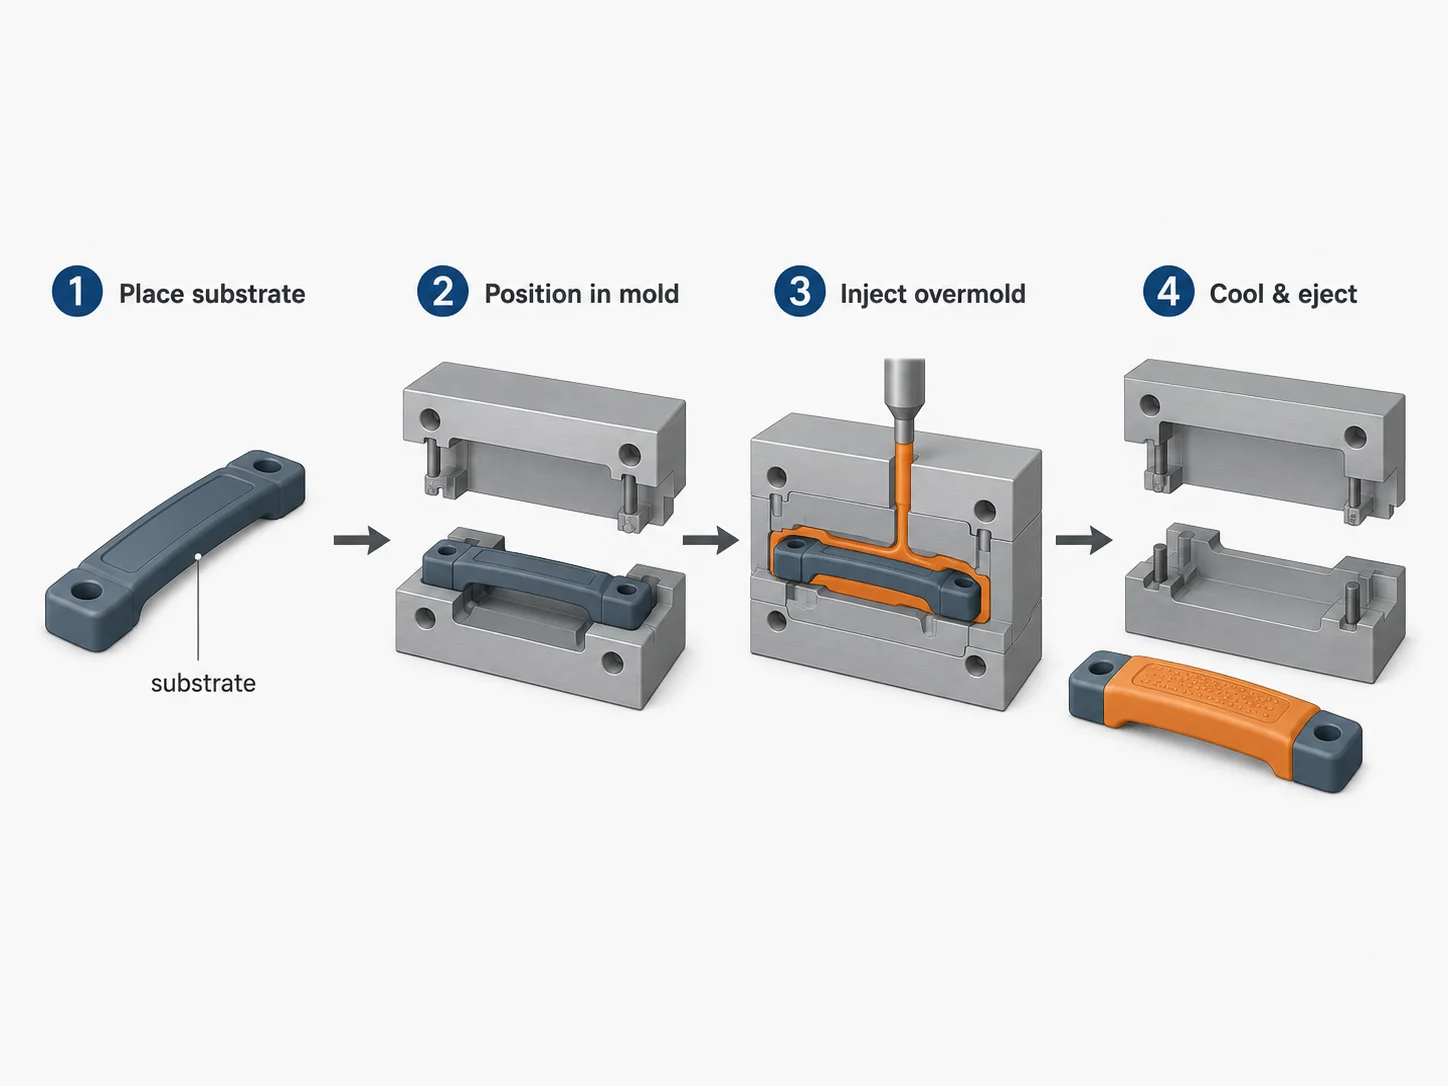
The overmolding process follows four steps:
- Mold or place the substrate. This is the rigid base part, or in the case of insert molding, it's a pre-formed metal insert.
- Position the substrate in the mold. The substrate is placed into a second cavity or indexed within a multi-shot machine.
- Inject the second material. The overmold resin is injected over or around the substrate.
- Cool and eject. As the materials cool, they bond into a single part, which is then ejected. (Thermoset LSR is the exception: it cures in a heated tool rather than cooling.)
Insert Molding vs Two-Shot Molding: Which Process Fits?
Two closely related processes cover most multi-material parts: insert molding and two-shot molding. They solve different problems.
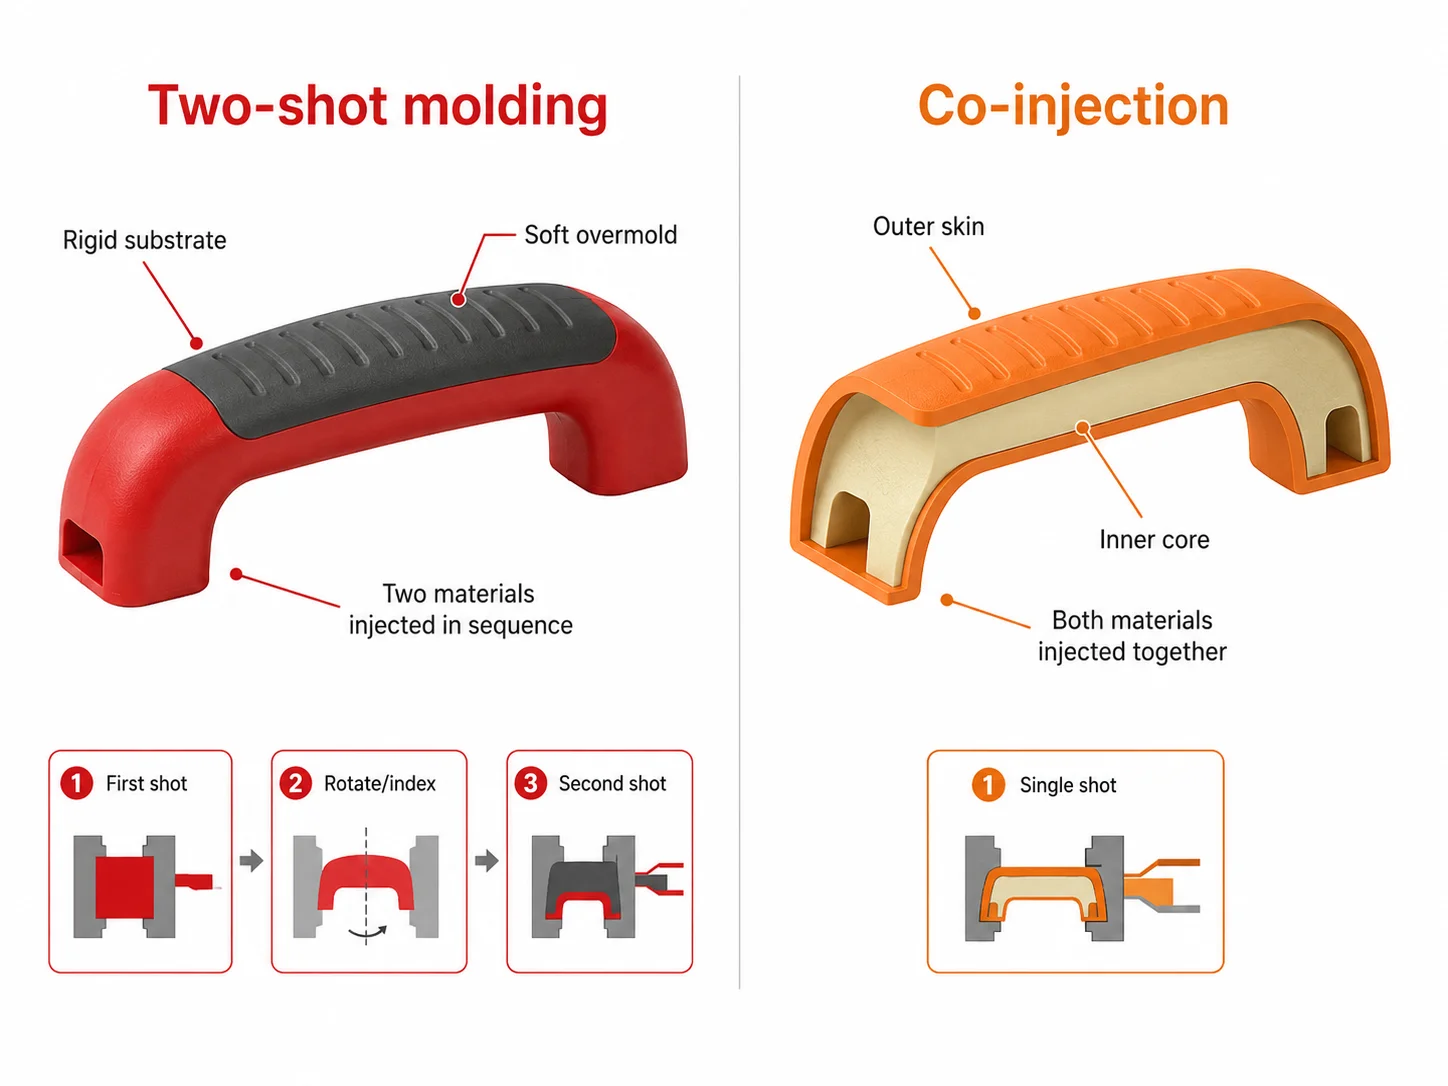
For a full side-by-side comparison of insert molding and over molding, see our guide. A general rule of thumb is to opt for insert molding when the goal is the integration of hardware into a plastic part, and for two-shot molding when two moldable materials need to be combined at volume.
Overmolding Materials: Key Pairings
The success of an overmolding project is dependent on material selection, so compatibility has huge importance. If a substrate and overmold resin aren't compatible, the design has to fall back on mechanical retention.
In short: standard SEBS TPEs bond to PP and PE but need specially formulated grades for ABS, PC, and nylon; TPU bonds to the polar engineering resins but not PP; and LSR requires self-bonding grades plus a substrate that survives its heated cure. For the full compatibility table, grade selection guidance, and peel-testing advice, see our overmolding materials guide.
Overmolding Design Guidelines
The following design guidelines are central to whether an overmold bonds properly and if it will hold up under stress in the real world.
Gate location. The overmold's flow over the substrate is directly affected by where it is gated, so careful planning of this aspect will have an impact on where weld lines form and how the cosmetic surface looks on the finished product. If the flow length-to-thickness ratio exceeds the resin's published limit (typically 100 to 300, depending on the material), then multiple gates should be considered.
Shrinkage and heat. Different materials shrink at different rates, so careful balances need to be struck. Just as important is the fact that the heat of the second shot can distort the substrate, so the substrate's material needs to be able to withstand the overmold's processing temperature.
Substrate surface. Whether adhesion is successful or not can come down to the proper preparation of the substrate and a clean surface. Contamination and residues can compromise the bond and be the difference between a successful or failed process.
Bond validation. Prove the bond before production with a 90-degree peel test (ASTM D6862) on parts from the prototype tool. A bond that fails cohesively (the overmold tears) confirms the chemistry works; clean separation at the interface is a warning sign. Dry hygroscopic substrates like nylon to the resin supplier's spec before the overmold shot, and preheat the substrate where the process allows.
Precision of fixture inserts. Inserts need to be well placed and held firmly in place so they don't shift under injection pressure during insert molding.
Applications and Benefits of Overmolding
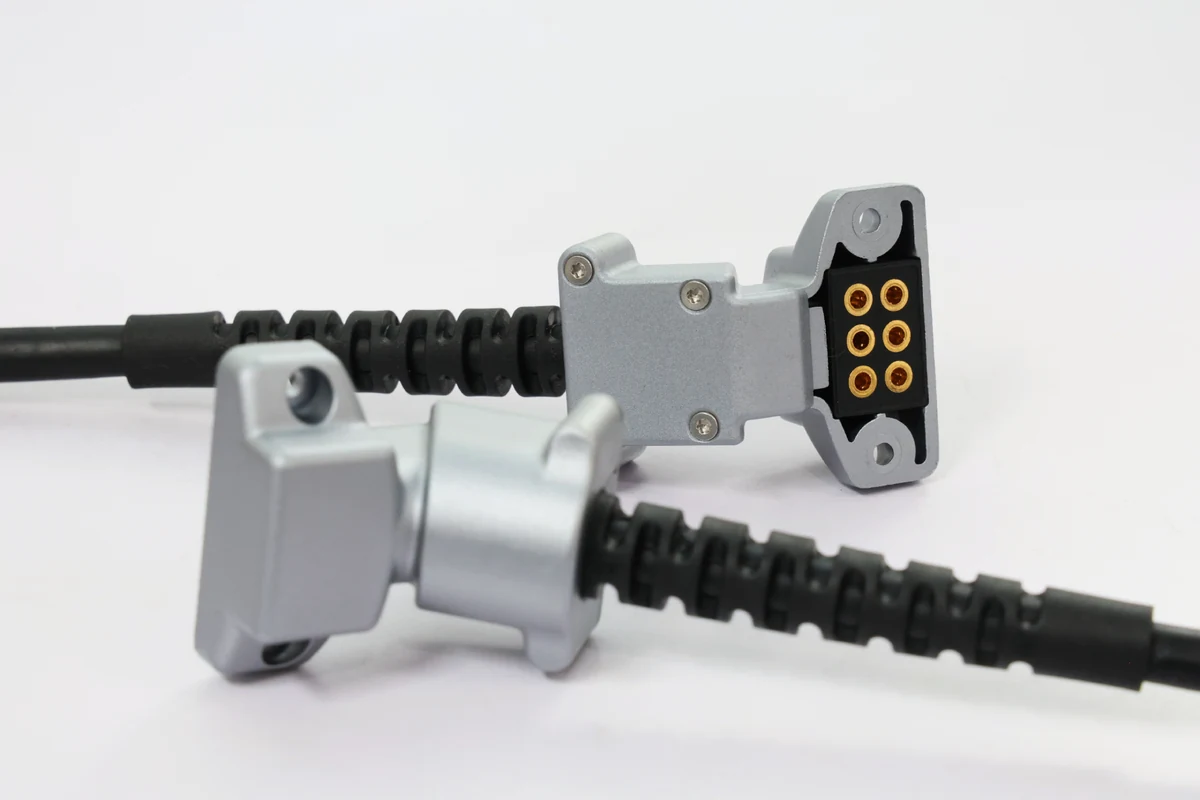
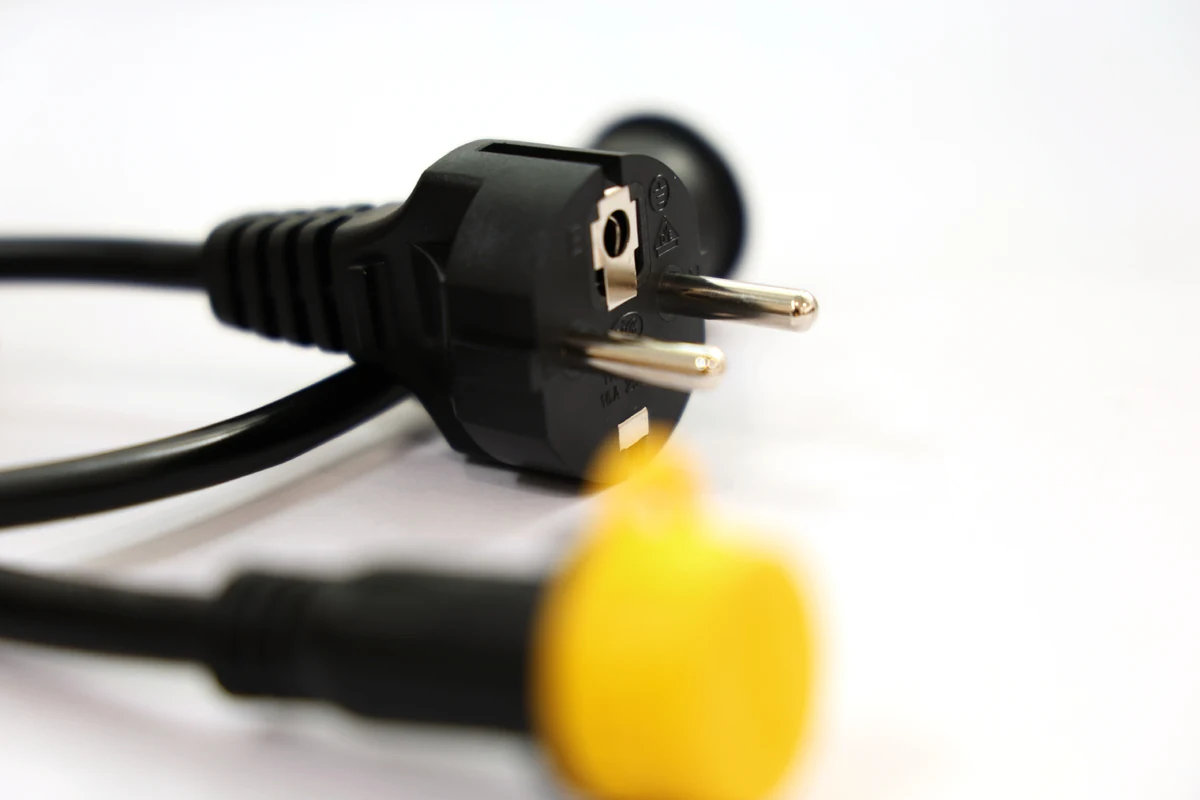
Overmolding features across a wide range of everyday products and applications, from consumer products such as toothbrushes and kitchen utensils, power and hand tools with ergonomic soft-grip handles, medical devices such as surgical tool handles, electronics featuring connectors and encapsulated contacts, and automotive components like seals and grips.
How Komaspec Supports Your Overmolding Projects
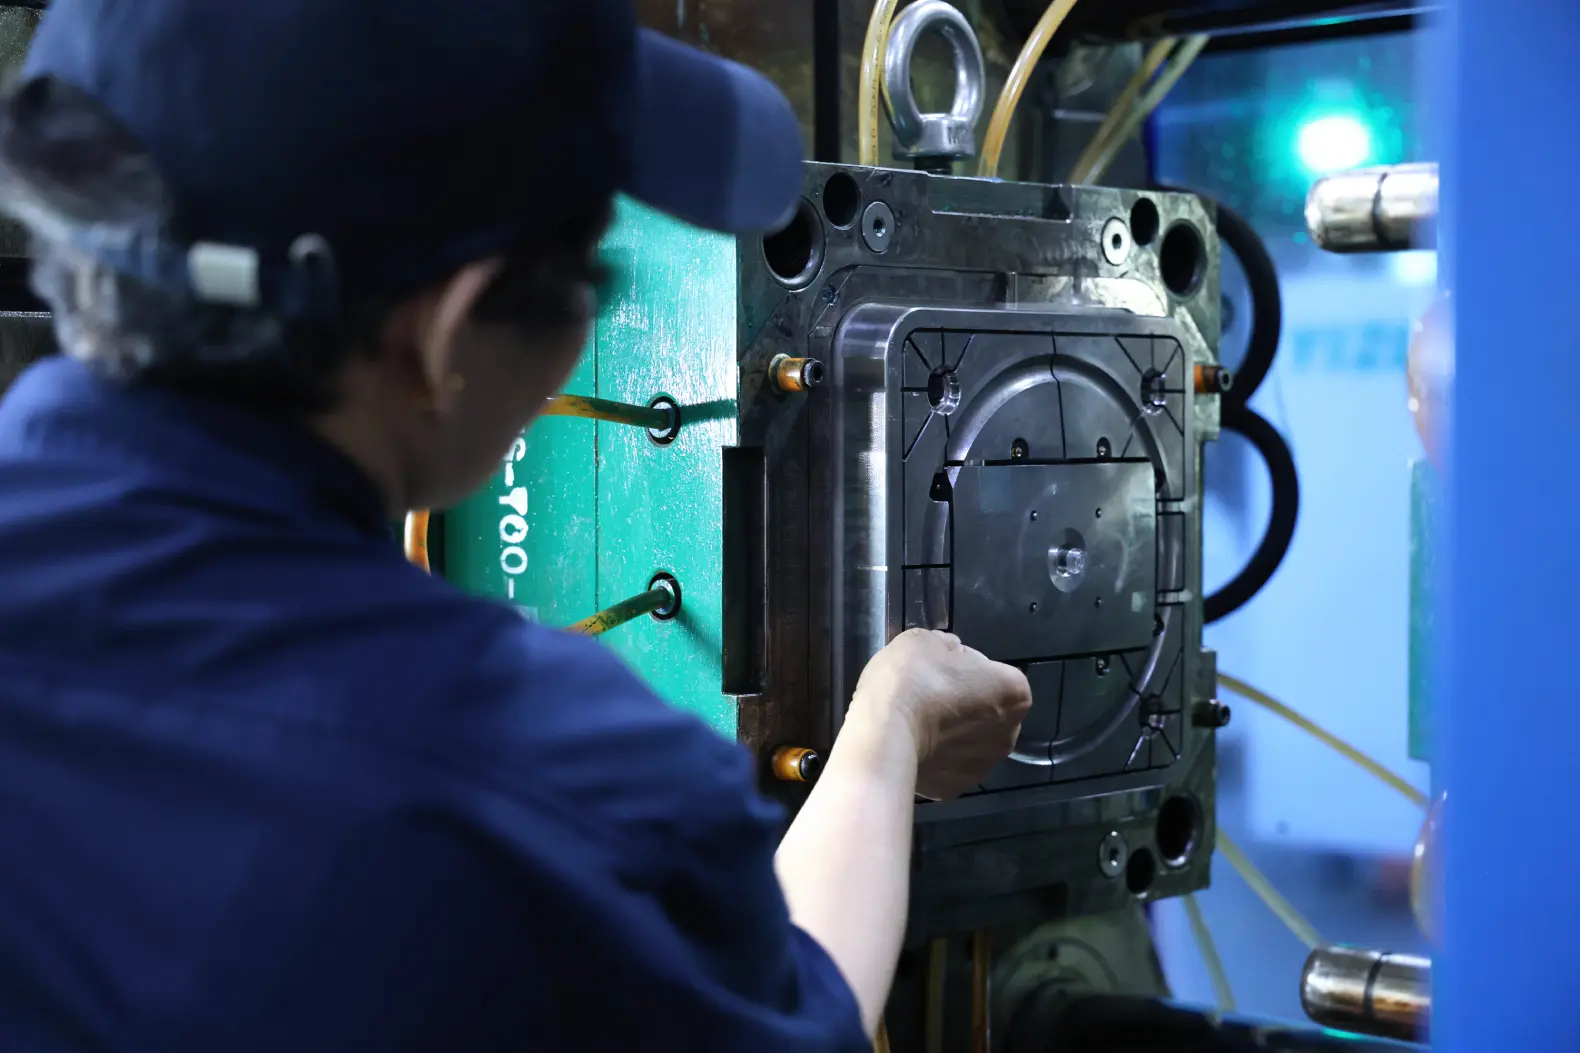
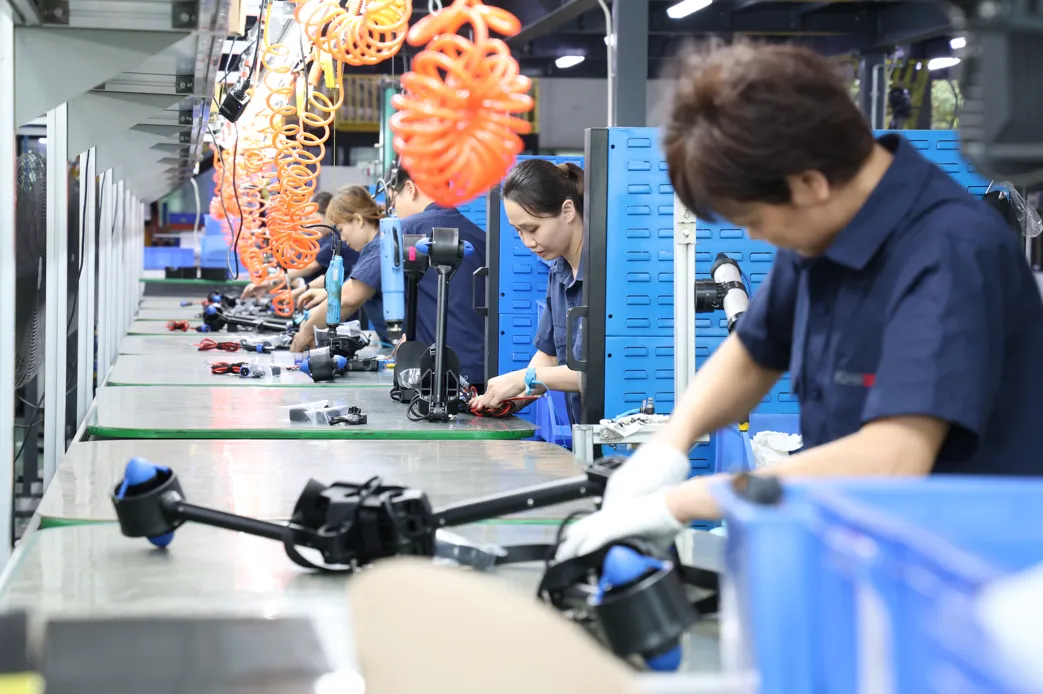
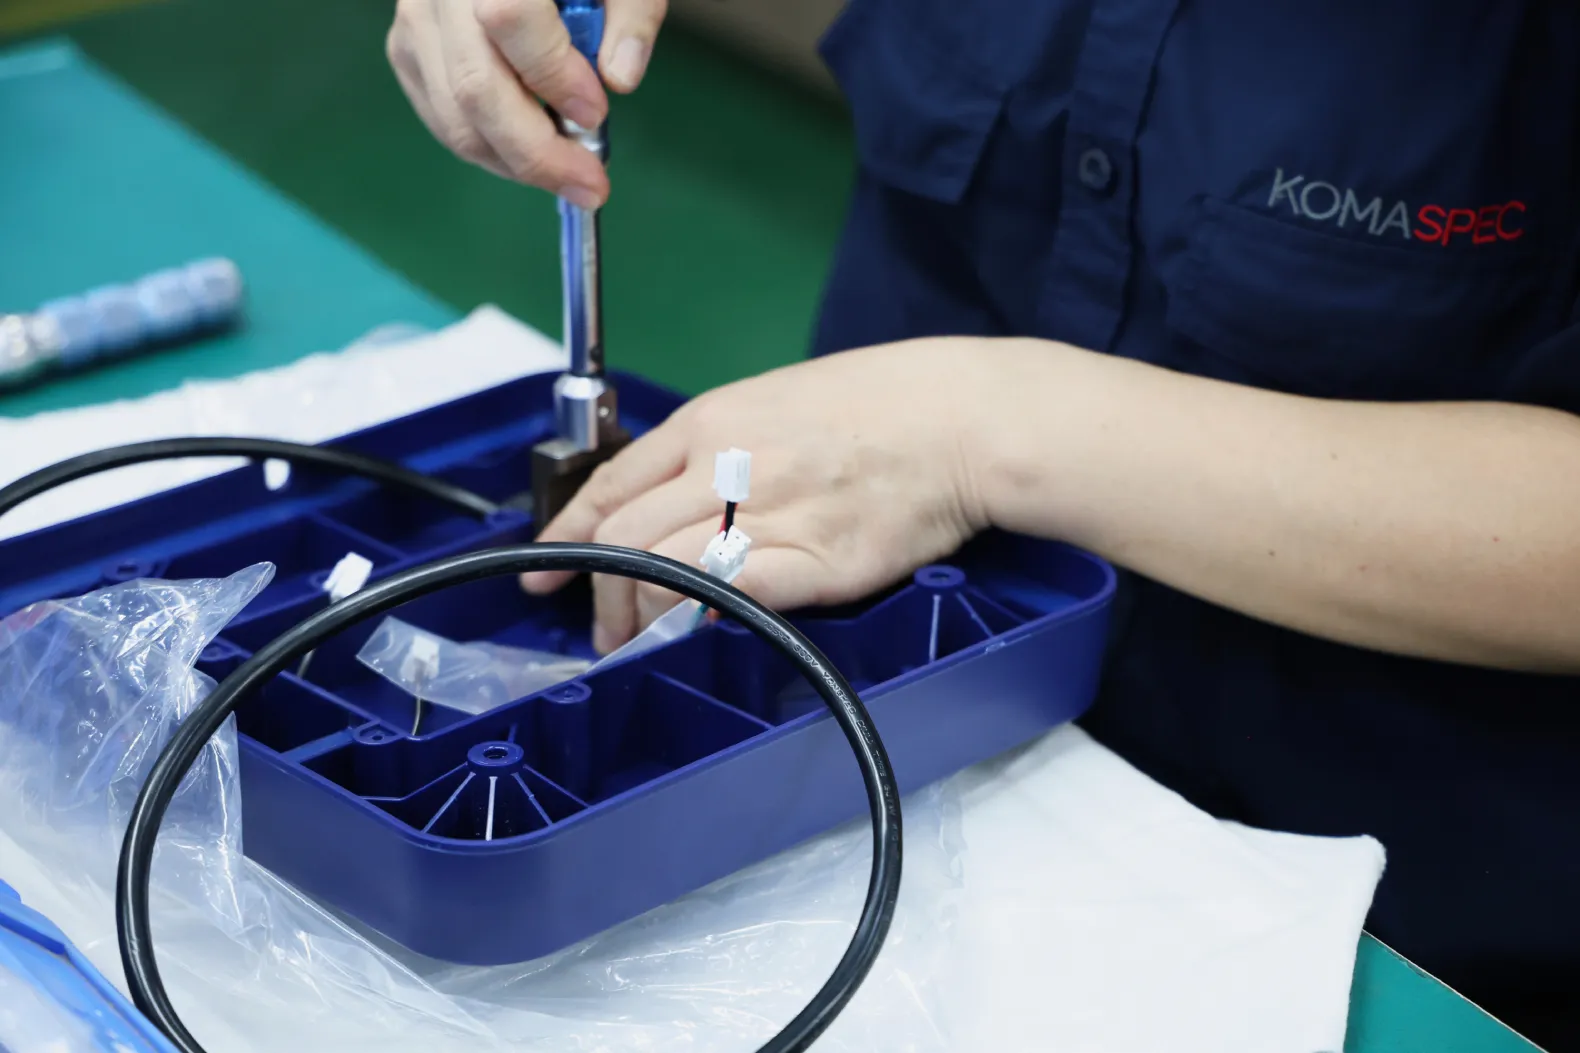
Our plastic injection team is skilled in advanced operations, including insert molding and overmolding. We handle multi-material molding in-house, and this is what you can expect:
Talk to our team to see how we can help you reach your goals with your overmolded product.
FAQs
How do the materials bond in overmolding?
This works through chemical adhesion between compatible resins, through mechanical interlocks, or both at once. Compatibility between the substrate and the overmold is decisive in whether this works.
Can you overmold onto metal?
Not chemically, in the case of thermoplastics: molten plastic doesn't bond to metal, so retention comes from mechanical features like knurls and grooves - which is insert molding. The insert, such as a threaded nut, is placed in the mold and encapsulated in plastic, creating a single part with the metal feature built in. Silicone is the exception: self-bonding LSR grades and primers can bond directly to metal.
How thick should an overmold layer be?
Typically 0.060 to 0.120 in (1.5 to 3 mm), kept as uniform as possible. Thinner layers cool too fast to bond well and feel harder than their Shore rating suggests; thicker sections sink, warp, and stretch cycle time.
How do you test an overmolding bond?
With a 90-degree peel test per ASTM D6862, run on parts from the actual tool rather than test plaques. Check the failure mode, not just the force number: cohesive failure (the overmold tears) means the bond is sound, while clean separation at the interface signals a weak bond.
What products are made with overmolding?
Toothbrushes and kitchen utensils, power and hand tools with soft grips, surgical instrument handles, cable strain reliefs and sealed connectors, and automotive seals and damping components - any part that needs a rigid structure with a soft, sealing, or grippable surface.
Is overmolding cost-effective for low volumes?
This depends on the approach used. If it is a manual or pick-and-place approach using two standard molds, then the tooling costs can be kept down for low volumes and prototypes. For an automated multi-shot molding approach, the tooling costs are higher, but the trade-off is that this cost is amortized better across higher volumes.