
Plastic Injection Molding Process: How It Works
- Key takeaways
- What is plastic injection molding?
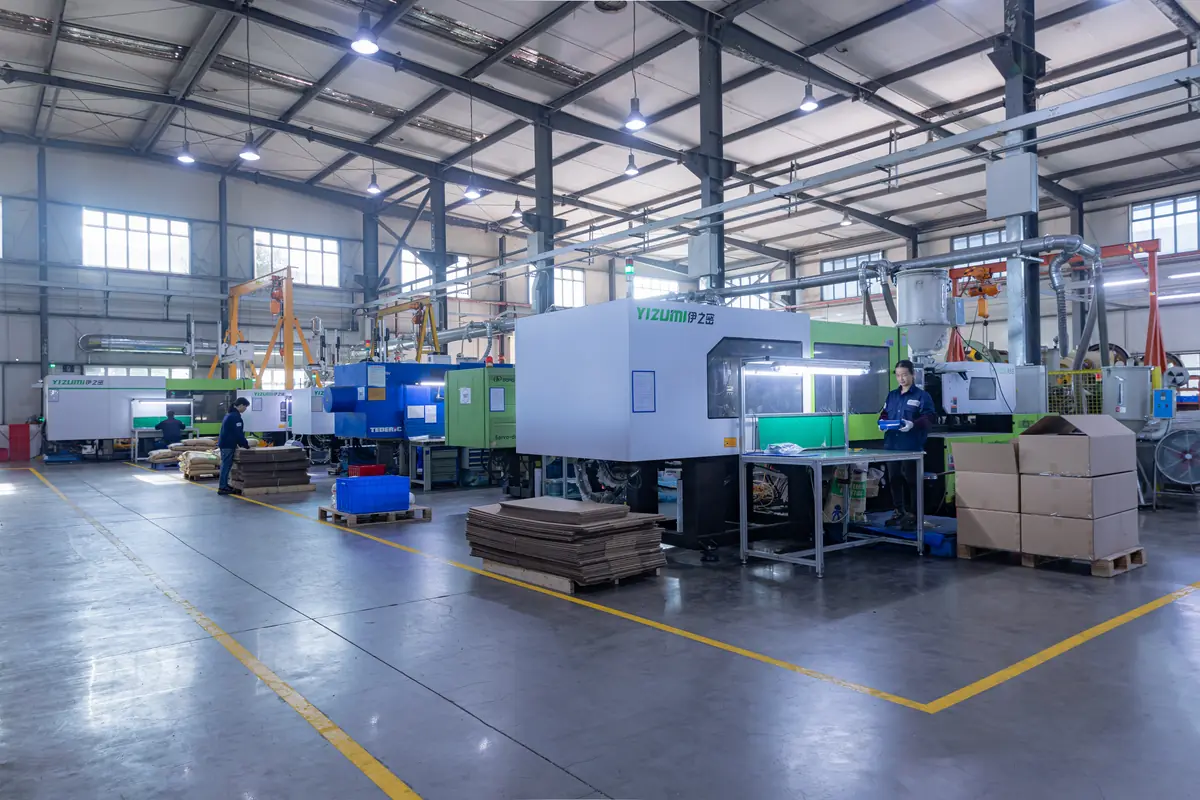
- The injection molding machine
- The plastic injection molding process step by step
- Plastic materials used in injection molding
- Designing parts for injection molding (DFM)
- Common injection molding defects and their causes
- Post-processing and quality control
- Advantages and limitations of injection molding
- How Komaspec supports your plastic injection molding process
- FAQs
Plastic injection molding is a manufacturing process that forms plastic parts by injecting molten resin into a metal mold, under high pressure. There, it cools and hardens into a finished part. It is the most common way to produce plastic components at medium to high volume, and is responsible for a huge amount of the plastic you see on a daily basis, from enclosures to housings, connectors to knobs, and clips to structural brackets.
This article details the process and how it actually works from start to finish, and covers the machine, the mold and the resin used to produce the final product.
It also explains the material and design decisions that influence how a final part presents, and the finishing and quality control steps that turn a raw shot into a refined product.
Key Takeaways
The process is a cycle that repeats, and which involves four steps: clamp, inject, hold, and then cool and eject. That loop runs thousands of times per production run, and does so with tight consistency to ensure uniform production.
The mold is highly important as it affects the cost and quality of the product. Tooling is the largest upfront cost and largely dictates part quality, cycle time, and the unit price at volume.
The choice of material sets the rule for everything else. The resin selected controls the strength, heat and chemical resistance of the part, as well as shrinkage. It also influences how the part has to be designed.
Good design prevents most defects. Sink marks, warping, and short shots can all be avoided before the mold is even made if uniform wall thickness, draft angles, and correct gate placement are all properly implemented.
Molding is not the final step. Parts will usually go on to trimming, inspection, decoration, and assembly, and maintaining quality control across the run is an enabler of reliability at high volume.
Injection molding pays off when done at volume. The high cost of tooling becomes progressively further spread across the run, so the per-part price drops sharply as quantity goes up.
Table of Contents
- Key Takeaways
- What Is Plastic Injection Molding?
- The Injection Molding Machine
- The Plastic Injection Molding Process Step by Step
- Plastic Materials Used in Injection Molding
- Designing Parts for Injection Molding (DFM)
- Common Injection Molding Defects and Their Causes
- Post-Processing and Quality Control
- Advantages and Limitations of Injection Molding
- How Komaspec Supports Your Plastic Injection Molding Process
- FAQs
What Is Plastic Injection Molding?
Plastic injection molding is a high-volume process for shaping plastic parts which forces melted resin into a closed mold cavity and lets it solidify. The finished part is then pulled out, the mold closed, and the cycle repeated.
Almost all injection molding uses thermoplastics, which are materials that melt when heated, harden when cooled, and can be melted again. This is in contrast to thermosets, which cure into a permanent shape and cannot be reflowed. Thermoplastics cover the most recognizable resins including polypropylene and nylon.
Creating a mold is expensive, but once done it is fixed and each shot after that becomes progressively more economical. This is why injection molding suits production runs rather than one-off parts, and a further strength of the process is that it can hold complex geometry, fine surface detail, and repeatable dimensions across large quantities.
The Injection Molding Machine
An injection molding machine has three main parts:
The injection unit melts the plastic and pushes it into the mold. Pellets drop from a hopper into a heated barrel, where a rotating screw melts, mixes, and meters the material. The same screw then drives forward as a ram to inject the melt, and the volume it delivers in one stroke is called the shot.
The mold is the custom tooling that gives the part its shape. It splits into two halves: the cavity on one side and the core on the other. Channels called the sprue, runners, and gates carry molten plastic from the nozzle into the cavity, and cooling lines run through the steel to pull heat out. Ejector pins push the part free once it sets.
The clamping unit holds the mold shut. Injection happens at very high pressure, so the clamp has to hold the two mold halves closed extremely firmly. Its rating, measured in tons, is the main spec when sizing a press. A common rule of thumb is roughly 2 to 5 tons of clamp force per square inch of the part's projected area, and this is why larger parts need bigger machines.
The Plastic Injection Molding Process Step by Step
The injection molding process runs in the following order, and the entire sequence repeats for every part that is produced. The process is designed to be run thousands of times and produce the same part every time.
- Clamping. The two mold halves close and the clamping unit locks them together under force.
- Injection. The screw pushes molten plastic through the sprue, runners, and gate, to fill the cavity. Injection speed and pressure are carefully controlled to fill the mold completely without degrading the material.
- Holding (packing). The machine keeps pressure on after the cavity fills. As the plastic cools it shrinks, and this extra packing pushes more material in to compensate. If this stage is not executed properly, sink marks or an incompletely filled part will occur.
- Cooling. The stage in which the part solidifies inside the mold is usually the longest part of the cycle, often taking up more than 50% and sometimes up to 80% of the cycle time. It is therefore the main driver of how fast a machine turns out parts.
- Mold opening and ejection. The mold opens and ejector pins push the part out. To ease this stage and make sure the release is clean, the walls have a slight taper.
The finished part still is not done however. It drops out with gate material attached and goes to trimming and a first-off inspection before any secondary work.
Plastic Materials Used in Injection Molding
Material selection for plastic injection molding largely shapes the whole process, so it is often the first key decision to be made. The choice depends on what the part has to survive with mechanical load, operating temperature and chemical or UV exposure all major considerations. Other factors such as whether it needs to be clear, if it will come into contact with food or skin, and cost are also important.
A few common resins and their predominant applications include:
| Resin | Structure | Mold shrinkage | Heat resistance | Notable properties | Typical applications |
|---|---|---|---|---|---|
| ABS | Amorphous | ~0.4–0.7% | Low–moderate | Rigid, high impact, good cosmetics | Housings, enclosures |
| Polypropylene (PP) | Semi-crystalline | ~1.5–2.5% | Moderate | Chemical resistant, fatigue resistant | Caps, containers, hinges |
| Polycarbonate (PC) | Amorphous | ~0.5–0.7% | High | Transparent, very high impact | Lenses, guards, clear parts |
| Nylon (PA6, PA66) | Semi-crystalline | ~0.8–2.0% | High | Strong, wear resistant, hygroscopic | Gears, bushings |
| PC/ABS | Amorphous blend | ~0.5–0.7% | Moderate–high | Tough, good processability | Auto interiors, electronics |
| TPU / TPE | Elastomer | ~0.8–2.0% | Moderate | Flexible, abrasion resistant | Seals, grips, overmolds |
*Values are typical ranges, and vary by grade, filler content, and processing conditions.
Designing Parts for Injection Molding (DFM)
Most molding problems start in the part design, which makes design for manufacturability (DFM) the cheapest place to fix them. Changing a CAD model costs nothing, but recutting hardened steel tooling costs a lot.
The rules that matter most:
- Uniform wall thickness. Most parts use a nominal wall of about 1-4mm (0.04-0.16in). Where thickness changes, the variation needs to be kept within about 10-15% and blended gradually, because thick and thin sections cool at different rates and cause sink marks and warping.
- Draft angles. Vertical walls need a slight taper so the part releases from the mold without dragging or sticking. For standard parts, a draft angle of 1-2 degrees per side is the usual baseline, although textured surfaces often need slightly more.
- Ribs and bosses. Keeping ribs to about 50-60% of the nominal wall thickness and no taller than roughly three times the wall helps prevent a sink mark on the opposite face, by balancing part stiffness.
- Gate location. Where plastic enters the cavity affects how it flows, where weld lines form, and which surfaces stay cosmetic.
- Radii, not sharp corners. Rounded corners help to dissipate stress and avoid disrupting flow.
Common Injection Molding Defects and Their Causes
When a part comes out wrong, the cause usually traces back to design or a process setting. The most common ones are:
- Sink marks. Dimples over thick sections or ribs, from material shrinking as it cools or from too little packing pressure.
- Warping. A twisted or bowed part, caused by uneven cooling and uneven shrinkage across the geometry.
- Flash. Thin webs of plastic at the parting line, from too little clamp force or worn tooling letting the mold halves separate slightly.
- Short shots. An incompletely filled part, from low injection pressure, a cold melt, or trapped air with nowhere to vent.
- Weld lines. Faint lines where two flow fronts meet and do not fully knit, often near holes or around inserts.
- Burn marks. Scorched spots from air trapped and compressed in the cavity, usually a venting problem.
Post-Processing and Quality Control
A molded part rarely ships straight off the press. It goes through finishing and inspection first, and both deserve attention.
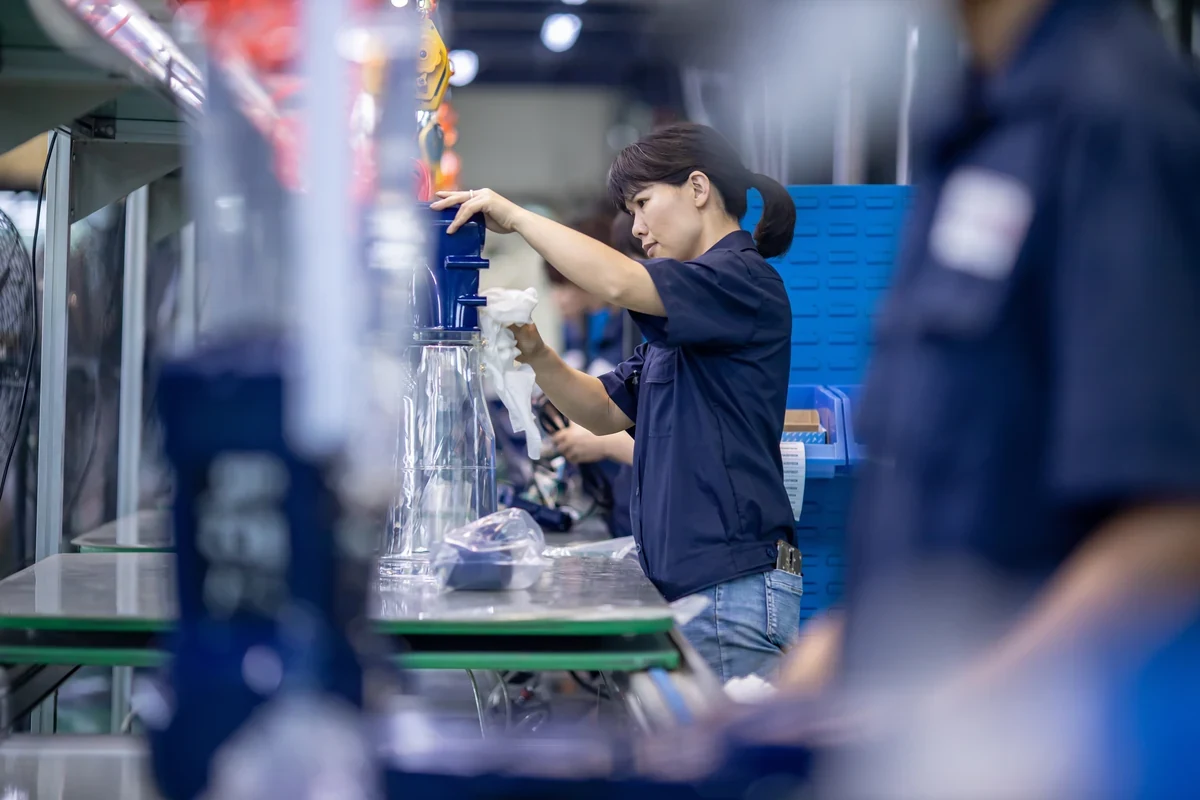
Quality control runs across the whole production run, not just the first sample, and includes many failsafe checks to ensure a consistent output.
Dimensional inspection against the drawing is one aspect that helps maintain quality, as is the First Article Inspection to sign off the first parts. Go/no-go gauges and inspection jigs to check features quickly are another tool used to ensure standards are adhered to, and statistical process control (measuring capability with metrics like CpK) to confirm the process stays inside tolerance batch after batch is an ongoing weapon in the arsenal of QC.
This last point is crucial, because a supplier can pass qualification and ship a few clean early batches, then drift once volume ramps up and the process gets stressed. So consistent inspection and process control across the run, not a single good sample, is what confirms a part is ready for production.
Advantages and Limitations of Injection Molding
Injection molding is the default choice for plastic parts at volume for good reasons, and it has clear limits worth knowing.
The advantages:
- Very low cost per part once the tool is paid off.
- High repeatability across large runs.
- Complex geometry and fine surface finish in a single step.
- A wide material range, with fillers to tune strength and stiffness.
- Little post-processing on the part itself, beyond trimming and any decoration.
The limits:
- High upfront tooling cost, often the biggest line item early on.
- Longer lead time to first parts, because the mold has to be designed and cut.
- Poor economics at low volume, where the tooling cost never gets spread thin enough.
For prototypes and low quantities, CNC machining or 3D printing usually make more sense, since they skip the tool.
How Komaspec Supports Your Plastic Injection Molding Process
Komaspec has more than 350 employees across six facilities in China, Vietnam, and Mexico and production space totaling about 190,000 square feet. Plastic injection molding sits inside a vertically integrated operation, so molding, secondary processes, and assembly all happen under one roof.
- Tooling and DFM evaluation. In-house mold engineers review your design for manufacturability and run flow and structural analysis before the tool is cut, catching fill and appearance issues early. Komaspec evaluates and improves designs rather than creating them from scratch.
- Roboticized injection presses. Modern presses set up for part roboticization support medium to high volume runs, with consistent quality through strict process control.
- Broad material capability. Standard and engineering plastics, plus custom or imported resins for demanding jobs, with color matched to Pantone, RAL, or master batch references.
- Multi-material processes. Insert molding, overmolding, and co-injection for parts that combine a hard and soft material, or mold plastic around a metal insert.
- Secondary operations and assembly. Ultrasonic welding, label application, pad and silk printing, and assembly of plastic parts with fasteners, sheet metal, and electronics, all in-house.
- Quality and documentation. In-house QC with jig and go/no-go gauge design, backed by a documentation stack that includes FAI, PPAP, CpK, FMEA, and IQC, plus Industry 4.0 systems that give live visibility into your order from quote to shipment.
With thousands of manufacturing projects behind us, we've run plastic parts across a wide range of products and volumes. If you are bringing a plastic part or assembly to market, talk to our team to see how we can help.
FAQs
What is plastic injection molding used for?
It is common in automotive components, consumer electronics, medical devices, and packaging, and it makes everything from enclosures and housings to connectors, gears, caps, and structural clips. Any plastic part needed in the thousands is a candidate.
How long do injection molds last?
A well-built steel mold can run hundreds of thousands to over a million cycles with maintenance. Aluminum molds cost less but wear faster and suit lower volumes or bridge production. Abrasive resins, such as glass-filled grades, shorten tool life, so material choice affects how long a mold holds up.
What is a multi-cavity mold, and how does it affect cost?
A multi-cavity mold has more than one copy of the part, so each cycle produces several parts at once. It costs more to build but lowers the cost and time per part, which pays off at higher volumes. A single-cavity mold is cheaper upfront and fits lower volumes or larger parts.
What surface finishes are available for injection molded parts?
Finishes range from high-gloss polish to matte and textured surfaces, set by how the tool steel is finished: polished, bead-blasted, or etched with a texture. After molding, parts can be painted, pad printed, or silk screened for logos and graphics. The finish is built into the tool, so it is worth deciding early.
What tolerances can injection molding hold?
Tolerances are generally looser than machined parts because plastic shrinks as it cools. Many features hold around ±0.1 mm, with tighter tolerances achievable through precise tooling and controlled processing. Resin choice, part size, and geometry all affect what is realistic, and tighter tolerances raise tooling and inspection cost.
What is the minimum volume that makes injection molding worthwhile?
It comes down to the tooling cost against the per-part savings. Molding usually makes sense from the low thousands upward, where the tool cost spreads thin enough to beat machining or 3D printing. For lower volumes, an aluminum bridge mold can cut the upfront cost while you scale.
Are injection molded plastics recyclable?
Most injection molding uses thermoplastics, which can be melted and reformed, so they are recyclable in principle. Scrap such as sprues and runners is often reground and blended back in within set limits to protect quality. Thermosets, which cure permanently, cannot be remelted this way.