
- Key Takeaways
- What Each Build Proves
- EVT: The Design Works
- DVT: The Product Meets Every Requirement
- PVT: The Factory Can Build It
- EVT/DVT/PVT vs Pilot Run
- How Many Units per Build?
- When to Commit to Tooling
- What Your Manufacturer Needs
- Why Skipping Builds Backfires
- FAQs
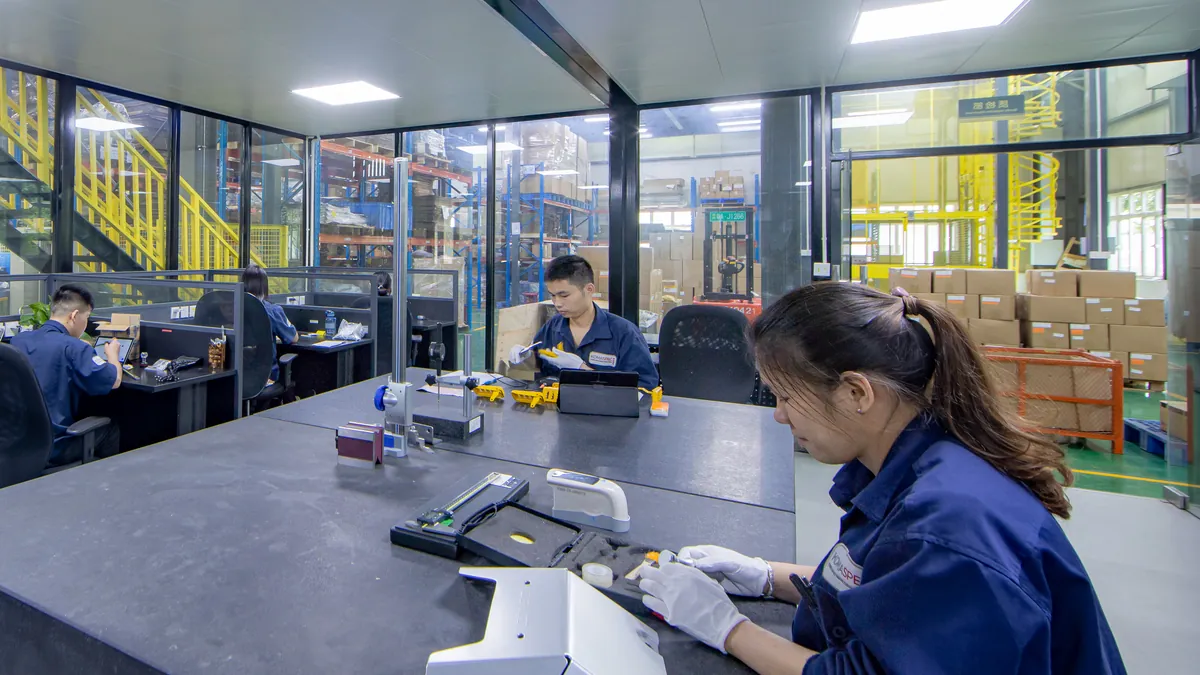
EVT, DVT, and PVT are the three test builds used to validate a hardware product before it is mass-produced, run in that order. The EVT (Engineering Validation Test) verifies that the engineering design works as intended when the product is actually built. The DVT (Design Validation Test) proves that the built product can pass every applicable requirement. The PVT (Production Validation Test) ensures that the factory can produce the product at volume and with consistent quality.
A design should not go into production until it passes all three of these tests.
When you’re working with a contract manufacturer, the EVT is typically your responsibility (since it’s validating the design you provided). The manufacturer generally handles the DVT and PVT (since both involve their production line and the production tooling), but you sign off on them before production starts.
Together, these three tests are the middle step in the New Product Introduction (NPI) process, where a design becomes something a manufacturer can make.
Key Takeaways
EVT, DVT, and PVT are all testing methods that involve building a product to validate its design, features, or the process used to build it.
The customer is generally responsible for EVT, since it validates the design they supply.
DVT and PVT both involve the production equipment and manufacturing processes, so the manufacturer generally takes the lead on these.
Each of these procedures allows customers to identify problems with a product, its design, or its manufacturing process before mass production, while those problems are still easy and affordable to fix.
Table of Contents
- Key Takeaways
- What EVT, DVT, and PVT Each Prove
- EVT: The Design Works as an Assembled Unit
- DVT: The Product Meets All Applicable Requirements
- PVT: The Factory Can Build the Product
- EVT/DVT/PVT vs. Prototype, Pre-production, and Pilot Runs
- How Many Units Should Be Made for Each Build?
- When Should You Commit to Production Tooling?
- What Your Contract Manufacturer Needs from You at Each Gate
- Why Skipping or Merging Builds Backfires
- Frequently Asked Questions
What EVT, DVT, and PVT Each Prove
| Build | EVT | DVT | PVT |
|---|---|---|---|
| Question answered | Does the design work? | Does the product meet every requirement? | Can the line build it consistently? |
| Who takes the lead | Your design team | Manufacturer (you sign off) | Manufacturer (you sign off) |
| Parts come from | Production-intent materials; machined, vacuum-cast, or soft-tooled parts | Production tooling and processes | Production tooling, final suppliers |
| Built on | Engineering bench or prototype shop | Production line, supervised by engineering | Production line, production operators, work instructions, and fixtures |
| Typical exit | One production-worthy configuration | Design freeze; certification samples pass | Target yield; FAI/PPAP approved |
EVT: The Design Works as an Assembled Unit
The EVT is the first complete build of your product. It assembles all the electronics, mechanical parts, and enclosure to form a complete unit. The EVT build is made using the same materials you intend to use in production.
If there is no production tooling for the product, the parts will usually be vacuum-cast or made with CNC machining (but not 3D printing, which is usually reserved for prototyping because printed parts don’t behave the way the real ones would).
There are two goals with an EVT:
Picking the right production configuration. This allows you to test out two or three different options for features and see which performs best.
Surfacing problems and issues so they can be fixed and the design can be adjusted before you commit to any tooling.
It is common for designs to fail the first time around. Instrumental’s stage-gate definitions note that on complex products, up to 40% of the EVT units built can fail functional or performance tests. In those cases, the failure is analyzed, the design is modified, and then a new build is tested.
The design passes the EVT when the build meets all functional, performance, and reliability requirements.
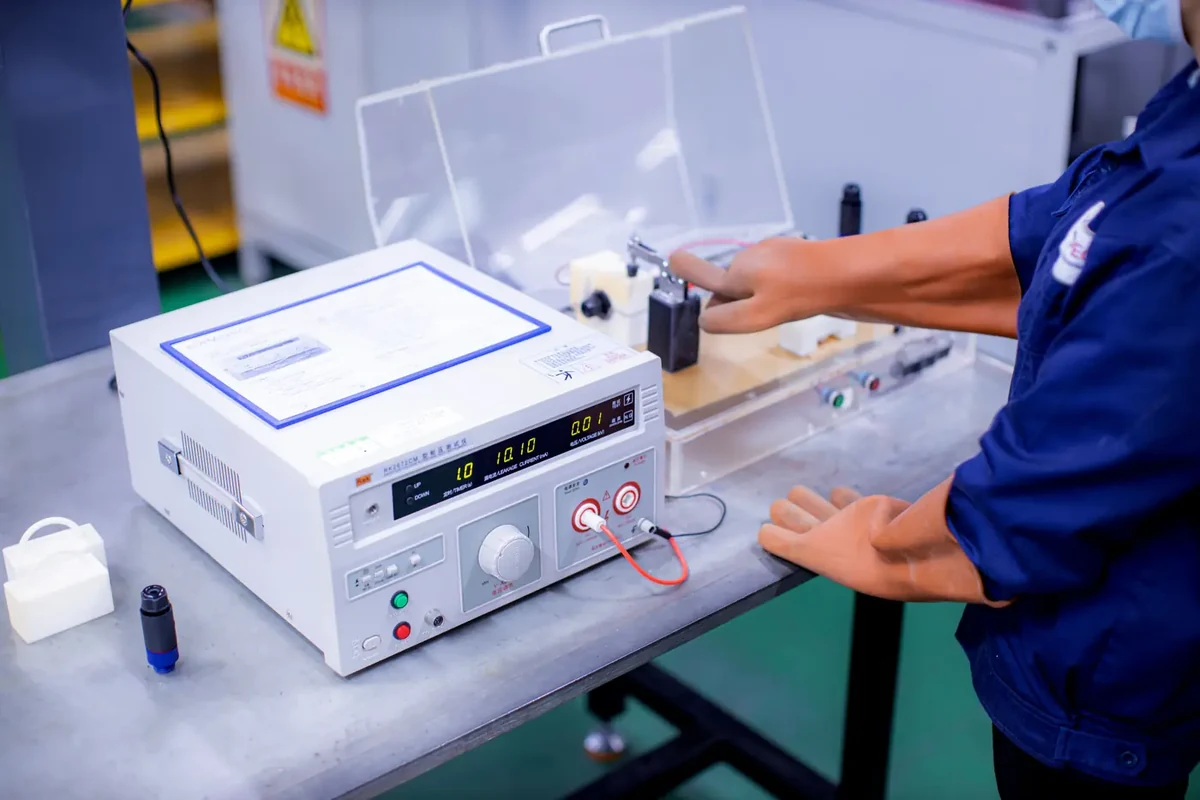
DVT: The Product Meets All Applicable Requirements
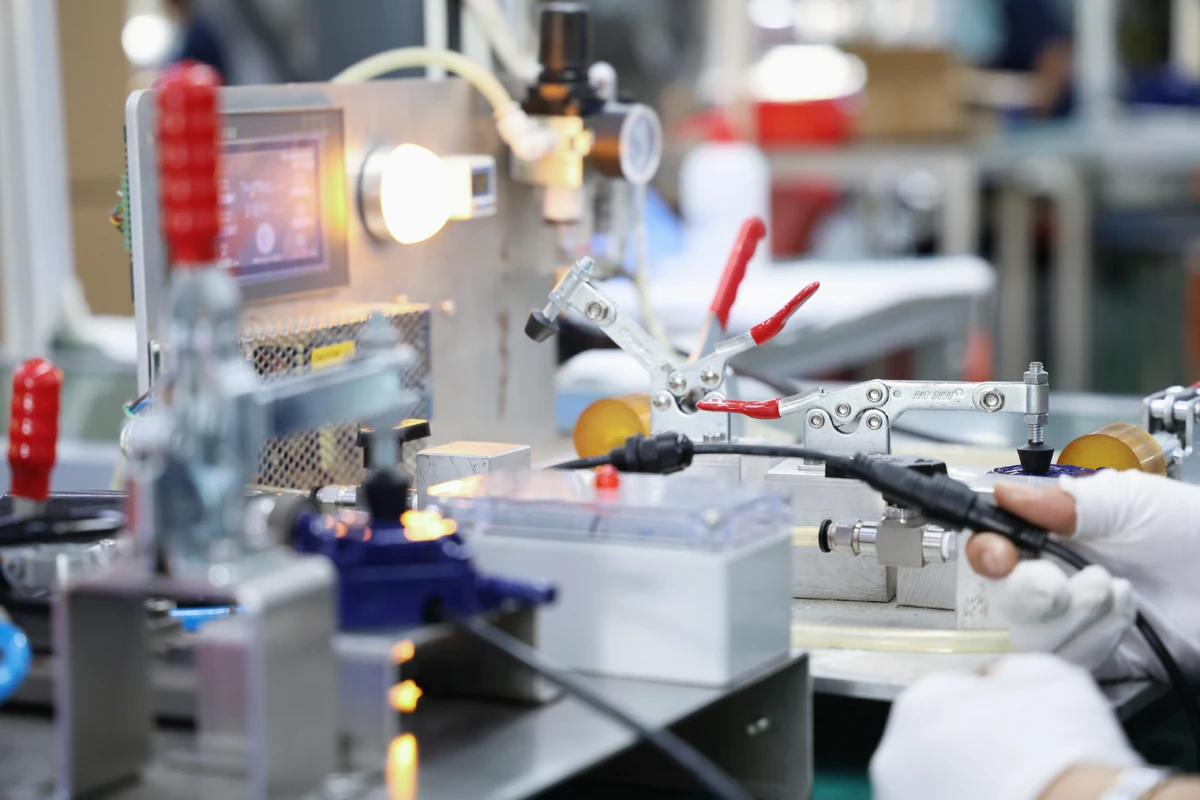
PVT: The Factory Can Build the Product
EVT/DVT/PVT vs. Prototype, Pre-production, and Pilot Runs
It can be difficult to sort out these different terms, because manufacturers use various names for them. For instance, at some manufacturers, an “engineering prototype” refers to a hand-built EVT, while at others it refers to one built with production tooling.
Watch for cases where the sample’s name sounds like it belongs to a later stage than it does. For example, a “pre-production sample” from prototype tooling sounds like it refers to DVT, but it can’t actually validate a molded part’s warp, sink, or tolerance because it wasn’t made using the production mold.
To be sure you understand exactly which sample is being discussed, ask which tools and processes will be used.
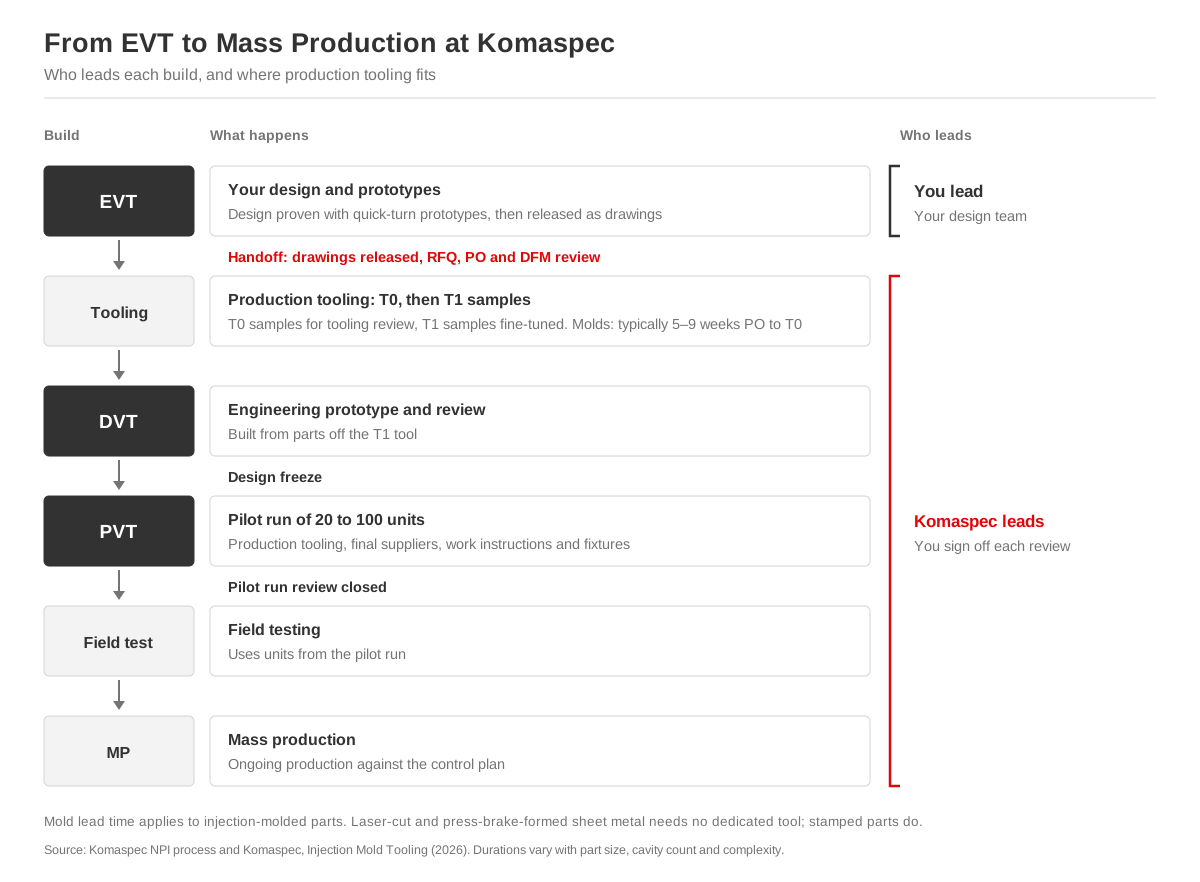
This table defines the terms as they’re used in Komaspec’s NPI process.
| Build | Other common names | Stage where it is used (at Komaspec) | What gets approved |
|---|---|---|---|
| Prototype / EVT | Concept or functional prototype | Before the RFQ: your design work, often with quick-turn prototypes (3D printing, vacuum casting, CNC machining) | The design you release as drawings |
| — | T0 / T1 samples | First shots off the production tool for tooling review (T0) then fine-tuned samples (T1) | The production tool |
| DVT | Pre-production or engineering samples | Engineering prototype and review, built from parts off the T1 tool | The product (design freeze) |
| PVT | Pilot run | Pilot run of 20 to 100 units, pilot run review, then field testing | The manufacturing process |
| MP | Mass production | Mass production | Ongoing output against the control plan |
How Many Units Should Be Made for Each Build?
There’s no standard number, and it will vary depending on the testing.
Size your EVT based on the build matrix. Multiply the number of configurations you’re comparing by the number of units consumed in each test. Then, add some units to account for teardown and debugging.
So let’s say you’re comparing two configurations, going through five units each for functional test, with three more for reliability and two for teardown, then you’ll need a 20-unit build for your EVT.
Size your DVT according to the test plan. Add up every destructive and long-duration test, certification samples (UL typically asks you to submit three to eight), and spares for a DVT2 loop. You don’t need to build any field trial units yet (we run field testing using pilot-run units). Overdoing it is wasteful. If you only need 40 units to complete testing, there’s no point in rounding it up to 200.
Size your PVT from the first order and the process. Our pilot runs are typically 20 - 100 units, followed by a pilot run review and field testing. Formlabs’ validation guide suggests a build of at least 5% of the first production run. Going on those numbers, a pilot run for a 600-unit order should have at least 30 units. If your product involves a lot of assembly or a long end-of-line test, err on the higher side.
When Should You Commit to Production Tooling?
Commit to it after the EVT exits. That way, the DVT build can be made from production parts. If you push it back until after DVT, you’re running those tests on parts that don’t match the ones you’ll be producing, and some tests will have to be run again.
This is also the order we follow. We review the production tool on T0 samples and fine-tune it on T1 samples. Then we build the engineering prototype. That way, the prototype you review is made from parts manufactured using the real tool that will be used for the full production run.
It’s more cost-effective as well. According to Formlabs, a refined prototype can cost around $500 - 1,000, but changing the tooling once you’re already in production can cost up to $50,000 and add weeks (or even months) to your timeline.
Ultimately, that’s the point of EVT. It’s there so you make all the changes while adjustments are cheap, before the tool has been cut.
Injection-molded parts are the most consequential when it comes to tooling decisions. Some teams will use aluminum molds for EVT and early DVT so they can fine-tune the surface finish, tolerances, and process settings. Once the geometry is settled, then they cut the tool in steel. But no matter the approach, you’ll have to order the production mold early enough to sample before the engineering prototype build. At Komaspec, injection mold tooling typically takes 5 to 9 weeks from purchase order to T0 samples.
Sheet metal parts are simpler, because an EVT build can be cut on the fiber laser and formed on the CNC press brake that will be used in production. So there’s no tooling gap between prototype and production.
The exception is a part that will move to a progressive stamping die at production volumes. That involves a change in process, and the stamped part will still need first article approval even if the drawing has barely changed.
Electronics are similar. For most products, the PCBA will be purchased, so make sure the boards used for your EVT came from the supplier that will handle the production boards. Verify that they use the same process as well - a board that was assembled by hand can hide soldering defects and component issues that only show up at volume. Define the product’s end-of-line functional test early on, with real pass/fail limits by DVT, so the engineering prototype’s yield numbers give you meaningful information.
What Your Contract Manufacturer Needs from You at Each Gate
A build can get delayed even if there are no problems with the design or the factory. All it takes is one input that isn’t quite ready, whether it’s a cosmetic feature that was never specified, someone using an old revision of a drawing, or a test that’s just marked “TBD.”
To keep the project from stalling, make sure you provide the following for your manufacturer after the EVT is complete.
| Input from you | At the RFQ (after your EVT) | Before the engineering prototype (DVT) | Before the pilot run (PVT) |
|---|---|---|---|
| Drawings and 3D models | Released fabrication drawings and CAD, with critical dimensions marked | Same revision the tooling was built to, approved on T0/T1 samples | Frozen revision (any change goes through a formal ECO) |
| BOM | Preliminary EBOM, alternates allowed | Complete BOM, approved components | Final BOM with approved suppliers, converted to the factory’s MBOM |
| Test specification | Functional test list | Test methods, limits and pass/fail criteria | Production test plan and fixtures signed off |
| Cosmetic standard | Not needed yet | Written standard and limit samples agreed | Same standard applied on the line |
| Quality documents | Your EVT test results and known issues | Risk analysis (design FMEA), T0/T1 sample reports, certification plan | Engineering prototype review closed, control plan, FAI or PPAP submission level |
| Who signs off | Your engineering lead releases the drawings | Engineering plus quality or compliance | Quality, using the agreed acceptance criteria |
The cosmetic standard is worth extra attention, because it can cause a lot of issues. A brushed stainless face, powder-coated panel, or molded bezel could get rejected because they fall short of cosmetic requirements that were never explicitly defined. Be clear about which surfaces are visible, the viewing distance, and how many marks (and of what size) are deemed acceptable. According to Instrumental, cosmetic yield can start at 0% in DVT and PVT with a strict standard. But if you don’t have written limits, you could end up arguing over every scuff and scratch.
The BOM can also be a source of trouble. The manufacturer will build the part or product based on their manufacturing BOM, so the engineering BOM has to be converted into that format before the PVT. Our article on EBOM vs MBOM covers what changes during that conversion.
Change ownership also needs to be dealt with. Under a typical contract manufacturing agreement, the customer approves every engineering change (even if the manufacturer suggested them) and pays for any resulting tooling change or obsolete stock. Agree to the exact ECO process before you start DVT.
In every instance, it’s cheaper to make these fixes early on, before any tooling is made. That’s why we give DFM input in several rounds: first at the RFQ, then on the drawings, and finally at the sample stage - with a written report for each sample build.
Why Skipping or Merging Builds Backfires
There are two shortcuts you might be tempted to use.
One is skipping the pilot run and going straight from approved T1 samples to your production order.
The other is getting the tooling done before the design is frozen and hoping the builds will pass anyway. Not only is that risky, Instrumental found that it doesn’t actually get your product on the market any faster.
Both of these shortcuts could cause you to miss problems until they’re expensive to fix. If you find an issue during your EVT, you can fix it without having to rework the tooling or scrap inventory.
But what if you’re in a bind and need to meet a fixed launch date? If that date can’t be moved, your best option is to cut the scope instead. That could mean dropping a variant, running a smaller DVT, or holding back a feature until the next revision.
Planning your validation builds? Send your drawings and BOM with your RFQ to Komaspec. Our engineering team will give you DFM feedback before any tooling is cut. Request a quote.
Frequently Asked Questions
Which comes first: EVT or DVT?
EVT comes first, followed by DVT, PVT, and mass production. It comes first because it verifies whether the design works as intended. Once this is confirmed, DVT ensures that the design meets all requirements when built on production tooling. Doing this before the EVT would mean certifying and freezing a design without being sure that it actually works.
What is the difference between EVT and DVT?
EVT validates the product’s design, while DVT validates the product itself against every applicable requirement. That could involve reliability, environmental, and certification testing. You can run EVT using several design variants, but DVT should only involve one design.
What is the difference between DVT and PVT?
DVT tests the product, while PVT tests the manufacturing process for that product. It verifies whether the production line can actually build that design and consistently maintain product quality. It validates not only the manufacturing equipment and facility, but also the operators and suppliers. PVT ends with production part approval, usually with an FAI report or a PPAP submission to the customer.
Can PVT units be sold?
Usually. Because PVT units are built using the real production tooling, manufacturing processes, and suppliers, they are generally considered sellable goods. But this isn’t always the case, so agree to these terms with your manufacturer in advance. Some customers will keep the PVT units for field trials, internal evaluation, or as retained reference samples rather than selling them.
How long do EVT, DVT, and PVT take?
It depends on the complexity of the product being tested and how many loops are needed for each build. Formlabs places the typical timeline at three to six months for EVT, three months for DVT, and one month for PVT (so seven to ten months for all three). Lead times for certification and tooling usually add the longest delays to the timeline.